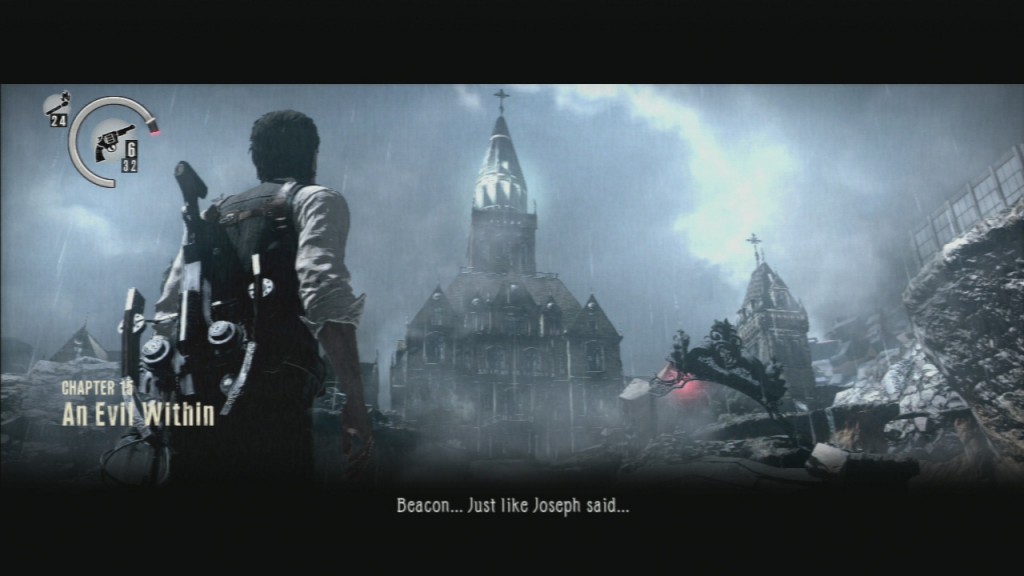
Chapter 15 – An Evil Within is the last chapter of the game and it will take you through some new and unique areas. You’ll find only a few lore collectibles in this chapter and I haven’t found any key stone statues here (yet).
▼Article Continues Below▼
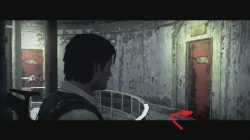
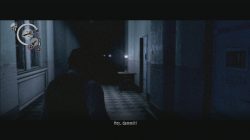
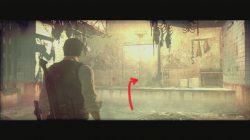
Be warned that, despite my best intentions, guide bellow contains story finale spoilers, so be careful when reading.At the start of the chapter you find yourself inside the Hospital’s main hub. There are two pieces of lore archive entries you can collect: Missing Person Posters “Missing Woman” and the last Personal Document “Internal Affairs Transcript”. As you pick them up, nearby door opens and you can hear Leslie. Follow him through several tunnels and rooms until you reach the Beacon.
Missing Woman.
Internal Affairs Transcript
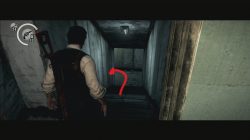
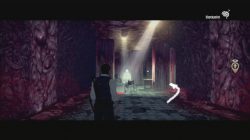
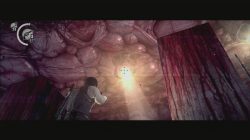
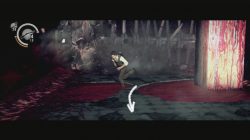
You are in front of the Beacon Mental Hospital once again. It has been a long journey but we are finally here. Enter the surveillance room and the storage room. Inside the storage room there are doors that reveal a path that leads you downstairs. Once you use the ladder, that takes you even deeper underground, turn left at the next crossroad. In the corner of this hallway there is an Audio Tape “Imprisoned”. At the opposite side of the hallway is an exit in form of a hole. Use it to reach the next area.
Enter the surveillance room and turn right.
In the storage go through another door.
Once you go down the ladders turn left at the first crossroad to collect archive log.
Audio Tape.
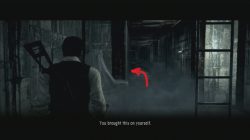
Going through the next door you’ll find yourself in familiar surroundings. Large portion of this chapter reflects that first chapter area. Even the last Document “Newer note from sewer” is at the exact location where the first document “Old note from sewer” was – in front of a wheelchair. If you have good memory you’ll remember the closed doors in the area as well. This door had a lock on it that you could’t shoot at during the first chapter. Shoot at the largest door lock now and go through.
The last document location resembles the location of the first document location in the game.
Shoot the lock and go through.
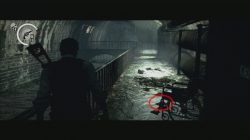
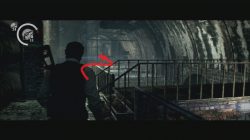
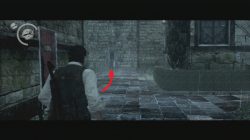
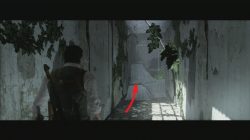
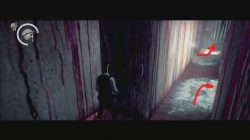
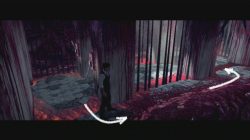
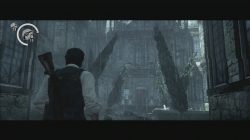
Continuing through the hallways you come across a spiral staircase. There are two red doors on top of it. Enter the first one to your right. Inside is the last Audio Tape: “Betrayal”. The other red door keeps the story going and eventually leads you to the Asylum’s front yard. Turn left as soon as you enter this yard. In the corner you can find doors. Following the path behind them, you come across – “Map Fragment 28”. Go back and follow Leslie inside the house.
Audio Tape “Betrayal” room.
“Betrayal” location.
Go through this door…
…to reach Map Fragment 28.
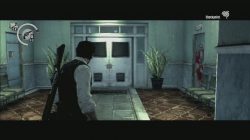
As you enter the building you come across three doors. One of them is the “Lore” door, but for the first time there is no lore to be found once you enter. This time you can only save the game and upgrade skills. This is the last time you can do it so make it count. Going through the double doors you enter a long hallway. Check out side cells for closure with the cell guy. Next scene takes you inside the cell. I’ve decided to check out the dead guy and burn his corpse for sentimental reassons. As you leave the cell a short cutscene starts and the main theme of this chapter starts.
Behind the door to your right is where you can spend your skill points for the last time in this playthrough.
Look through the cell bars.
The First Combat Area
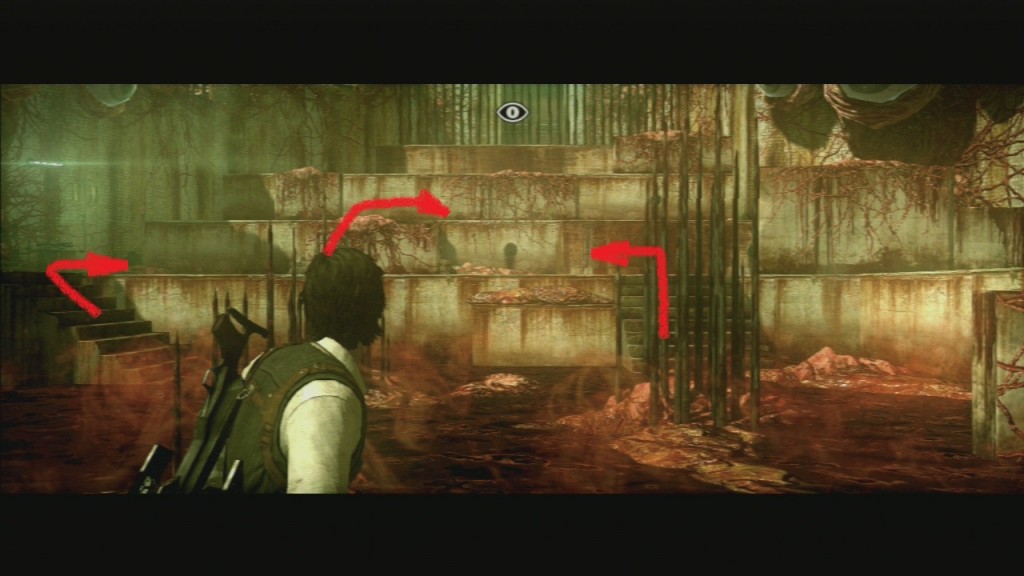
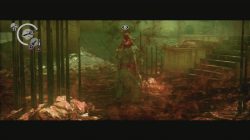
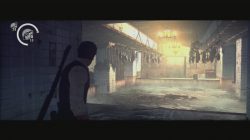
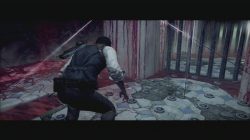
When the cutscene ends you find yourself inside the first bloody room. Head to the opposite side of the room. Climb to the second floor and hide behind stone cover. From this location you can defend yourself easier. If you decide to defend yourself from this location waves of monsters come in the next order – from your left, right, middle, left and right and in the end from behind you.Hide behind the cover.Ones coming from your left use the two stairwells to get down to your floor from a higher platform. If you ever find yourself in a dangerous situation during this event and get chased by a large group of enemies always head up there. Use the stairs to climb up, wait for monsters to climb and then just jump down as they use the stairs once again to go down. Use this location for the last wave of mob(s) that comes from the main double door. It is the chainsaw guy. If you shoot it when he’s at the top of the stairs he just falls down (like a true monster champion that he is).
Monsters from your left.
From your right.
Ruvik’s Copy leads the central group.
Chainsaw guys is easy to defeat once you have harpoon bolt upgraded to the max.
The Second Combat Area
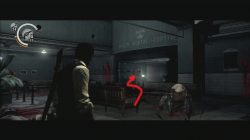
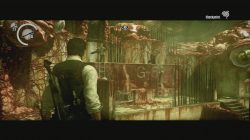
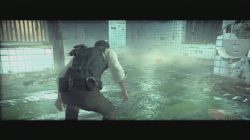
There are only 4 mobs inside this room. They engage in combat when you drop down from the platform that takes you inside the room. On your left and right, from where you’re standing, you should spot two groups. Each group has one sniper and one monster with dynamites. Shoot the guy with explosives as he raises the dynamite to throw. He drops it, killing him and the nearby sniper monster.
Group of two monsters to your right.
How to fight two safe head monsters
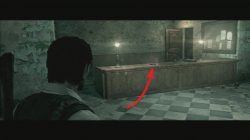
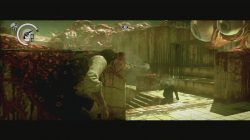
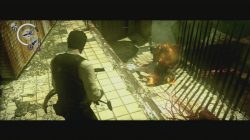
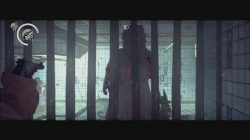
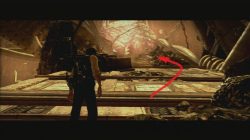
Further inside the hospital you drop down into this area. It has a door made of spikes between two similar looking rooms. There is also a hallway connecting these two rooms. Inside the first room there are a couple of sinks and inactive spinning blade traps. Inside the second room there is a large central pit with two chandeliers and meat that hangs from hooks. These two chandeliers create fire bellow them once shot at. Between these two rooms there is a door of spikes. Switches inside each room raise or close the spike door. This is an extremely important fact so keep a look out for these when the fights starts.
The first room.
The second room. You can notice the chandeliers.
Side Hallway that connects two rooms.
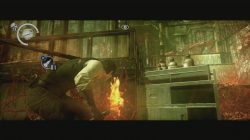
As you go near the double door in the second room, they disappear and two enemies spawns. It’s the safe head guys! Head back to the first room fast and shoot toward the two chandeliers while retreating. As the monsters come close to the first room use the switch to close the door. You can shoot them through the spikes. They’ll head to the side hallway to reach you. You can now repeat the above by going to the second room as they reach you and closing the spike door on them again. Executing this properly you can leave the area without a scratch.
Safe box monster does not look scary now.
Use this time to shoot at them.
Leave the area through the double doors once the monsters are dead.
Ruvik’s Trap Hallway
You encounter a new type of challenge here. You have a new rule to abide to – don’t step into the light. If you do so the game returns you to the start of the path. There are three challenges here that you need to overcome in order to reach the other side of Ruvik’s Trap Hallway. At the start of each challenge the game automatically saves (thank the game designers for helping us out like this).
The first challenge is the easiest one. Go to your right and follow the path until you reach a narrow hallway. Once inside, enter the small side niches to hide from the light.
Turn right and follow the path.
Once inside this part of the hallway use side niches to stay out of the light.
At the start of the next challenge go right of the two red switches. When you get past the first three search lights – crouch. Disarm the wall bomb (or don’t) and go between the cables that spring the trap. The next spring trap area is slightly harder. Before you make your way through the trap cables wait for the light to reach the location of the stone column to your lower left. As it reaches the stone column look up and shoot the eye that creates this light. As you crouch and go through the first two cables on your left make a sharp turn right and proceed to the end. (if you mness with the red switches at the beginning setup of this area may change and you might have to do a different set of trap avoiding)
Follow the path.
Crouch and go between the cables.
When you shoot the eye light turns off for couple of seconds.
This is the time to go through the cables. (light at this picture is up, don’t go while its up)
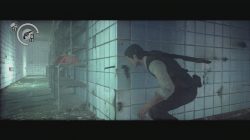
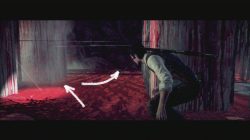
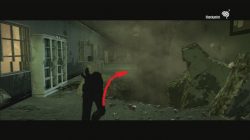
The last challenge starts as the large spinning trap comes rushing toward you. Run to the left of your screen, then right and at the end go down the middle of the path. You do this to avoid pools of blood that slow you down (and get you killed) otherwise. Point is not to get hit by the spinning trap.
Run and avoid…
… the blood pools.
Once you complete them all you can enter the hospital once again. Use a switch at the end of a hallway and enter an elevator.
Last Boss Fight – Amalgam
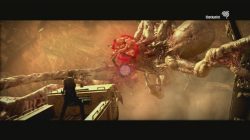
After a longer cutscene you end fighting versus a creature called Amalgam. This is the largest monster we faced so far. Fight starts on the side of a building. As you run toward the other side of the building the monster drops its claw and scrapes along the building trying to get you. You need to stay away from it and you usually do this by staying on the same side where the claw initially drops, because it scrapes in a diagonal fashion. Sides of the platform you should aim for are usually in the following order: right, left, right and left.
On side of the building avoid the claw.
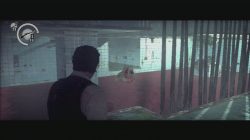
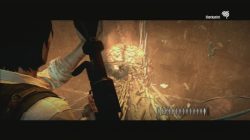
The next part takes place inside the building. Amalgam uses his claws to destroy floors this time. To reach the other side of the building you have to dodge the holes he creates. You should move in the following order: left, right, left and right.
Inside the building avoid holes.
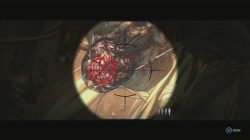
Fun begins with the next section of the fight. You are now in charge of a machine gun. To survive this part you have to aim and shoot toward the part of his claw the game shows you. This is usually a part of the claw where you can spot a couple of human like shapes (bodies are attached to it). Doing enough damage with the machine gun starts the next event.
Machine Gun Madness!
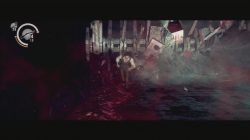
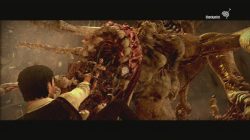
New part takes you to a new location and lets you use a new weapon – rocket launcher! Shoot at Amalgam’s head as he approaches you you. Place the final shot toward Ruvik’s location once the head shield is destroyed.
Rocket Launcher Madness!
Final monster hit.
Final section of the fight takes place in awesome looking surroundings and ends once you properly employ your newly acquired Automatic Handgun. We will not spoil the ending, because it is quite epic and you should experience it for yourself.
What a scene!
It should be mentioned that two new achievements are rewarded at the end – “One of the Many” and “First Step into Darkness” for completed first run through on casual difficulty. You are also awarded with several new items – weapons: Machine Gun, Rocket launcher, 50 000 Gel Skill Points, NEW GAME+ mode and model viewer. There is also a new difficulty setting unlocked. NEW GAME + takes you to another game playthrough where you can pick up the archive logs you might have missed, raise the difficulty and so on. Model Viewer allows you to find out a bit more about characters, game models, guns and more.
Thank you for reading our The Evil Within Chapter guides and we hope we helped you overcome some of the obstacles this great game had.
 At the start of the chapter you find yourself inside the Hospital’s main hub. There are two pieces of lore archive entries you can collect: Missing Person Posters “Missing Woman” and the last Personal Document “Internal Affairs Transcript”. As you pick them up, nearby door opens and you can hear Leslie. Follow him through several tunnels and rooms until you reach the Beacon.
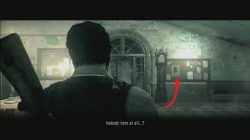


This is the best guide for this game ! Zillion thanks for the key locations 🙂
im playing it first time on survival no upgrades so most guides are useless.
Great guide! Thanks for helping me find the Key Stones throughout the game
Thanks a ton! The best guide out there! Great work!
Thank you so much! Helpful infomation
Took me a while but got through it thanks:-)
Great guide thanks
Thank you for the great guide!
A game guide well done. Thanks!! I’ll use it again for my second play through
Thank you for the guide. I wouldn’t have completed it without it. You definitely need to be able to upgrade your character to complete the game.
Excellent guide! Helped us an awful lot! Made the game much more enjoyable 🙂
Solo revise un par de tips pero termine el juego en modo difícil, gracias
Very helpful Especially for key/map locations (whole game) Thanks millions!!
Great guide!! I couldn’t have made it without you =)
Great guide and great game thank you
Thanks. Finally, I finished this game. Whew!