Division 2 Savage Wolverine Location - High End Assault Rifle
Savage Wolverine is a new high end weapon in The Division 2. It’s a named variant of the Honey Badger, an assault rifle added in the recent update. It has a unique talent that makes it do more damage at close range, which greatly increases its usability. The process of getting one for yourself is a bit convoluted, so we’re going to help you out by showing you how to get Savage Wolverine in Division 2.
The unique talent we mentioned is called Perfectly Close & Personal, and it makes you do 50% more damage for 10 seconds after killing a target within 10 meters of you. This means that if you get swarmed, kill one of your enemies and you’ll get a significant damage boost to help deal with the rest.
How to get Savage Wolverine?
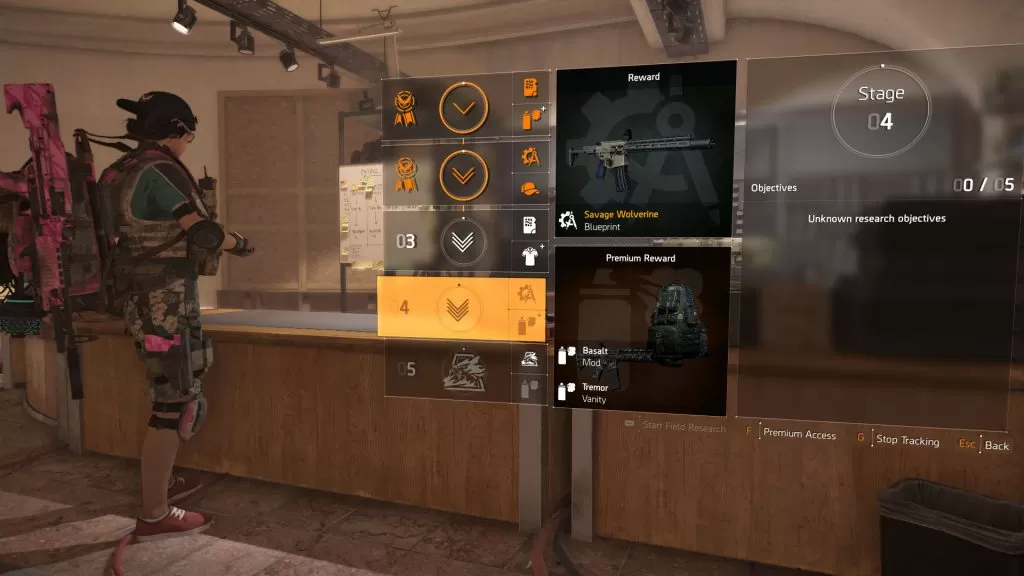
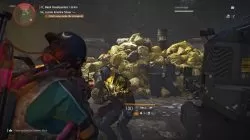
The Savage Wolverine isn’t a world drop – the only way to get it is through a field research. The blueprint for crafting it is a reward for completing stage 4 of the Firewall research. Go to the Base of Operations and start the field research, and you’ll get the first set of objectives. You’ll need to set 10 enemies on fire, kill 10 Scorchers and kill 20 enemies closer than 7 meters. The only task you might stuck on here are the Scorchers. They’re the guys with flamethrowers and red gas cans on their hips. You’ll find loads of them in the early stages of the Roosevelt Island mission.

For stage 2, you’ll need to defeat Wildfire in Roosevelt Island after destroying her fuel tank. You’ll need the non-invaded version; she’s one of the first bosses, so make sure you don’t rush in and kill her before blowing up her gas tank – a single shot should do it. Then you have to neutralize 3 named enemies afflicted by a status effect. You also have to apply 2 status effect to a single enemy before killing them, then repeat this 3 times. Finally, you need to complete the Manning National Zoo mission against the Outcasts, which means non-invaded.

In stage 3, you’ll have to kill Bloodhound in the Federal Reserve Bank after applying the bleed effect to him. He’s the end boss, so it’ll take some time. You also have to kill elite enemies while they have status effects. You’ll then have to kill enemies while you yourself are burning. Roosevelt Island is a good choice for this, thanks to the abundance of Scorchers. The next step involves killing named enemies with your sidearm – just pull the pistol out once their health is down and finish them off with it. The last step requires you to complete the Space Administration HQ mission against the True Sons, which means it’s the non-invaded version.
Stage 4 is the one that’ll unlock the Savage Wolverine blueprint. Your first task will be to kill The Corpulent in the Potomac Event Center, after destroying his ammo pack. He’s the final boss, and the ammo pack is hanging from his belt, across his left hip. Then you have to score melee kills with the ballistic shield equipped. Afterwards, salute a burning enemy before killing them. You should probably focus on enemies with armor for this one, so they don’t burn up before you can emote. The next step is killing named enemies using skills. The last one requires you to complete the DARPA Research Labs mission at the Pentagon, on hard difficulty (or higher).