To Tame a Titan Secret Gold Chest Room Unlock in Marvels Avengers
The secret gold chest room in To Tame a Titan in Marvel’s Avengers is a secret area in the mission that is very difficult to unlock, and you have to go out of your way to complete it. In order to open the To tame a Titan secret room with the gold chest, you have to solve a puzzle involving several switch locations. And even then, it’s difficult to figure out where the secret room even is. So, in our To Tame a Titan Secret Gold Chest Room Unlock in Marvels Avengers guide, we’re going to show you the location of the secret room and the switches, as well as how to solve the puzzle that unlocks it.
Where to Find To Tame a Titan Secret Gold Chest Room Location?
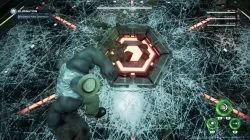
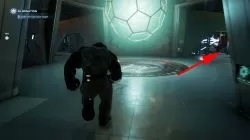
To find the secret gold chest room in the Marvel’s Avengers To Tame a Titan mission, go down the elevator into the secret facility. Exit the elevator and head to the glowing “ball” in front of you. I know it’s not a ball, but I have no idea what that’s called. Anyways, instead of making a beeline for the objective, head down the corridor on the right. At the end of it, you’ll find a ton of enemies and turrets that you’ll have to eliminate, two more hallways that will become important in a minute, and a glass floor below you. The secret room is underneath said glass floor, but there’s a shield protecting it, and you have to take it out by completing a puzzle featuring several switches. That brings us neatly to our next point.
Secret Room Gold Chest To Tame a Titan Puzzle Solution & Switch Locations – How to Unlock?
To solve the puzzle and unlock the secret gold chest room in the To Tame a Titan mission in Marvel’s Avengers, you have to find and hit the locations of four large switches strewn across this part of the level. I recommend clearing out all the enemies first, because you do have to hit the switches fast before they reset. The synthoids and turrets are just gonna slow you down.
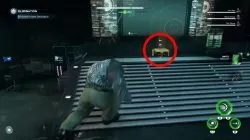
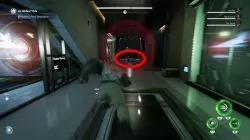
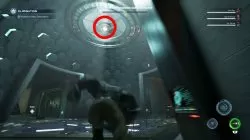
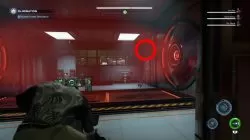
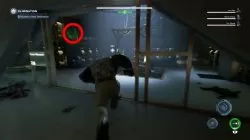
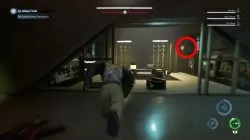
Once you dispatch all the bad guys, time to find and hit the four switches. To begin with, there’s one right above the glass floor. In one of the corridors, there’s a room called Fusion Testing – 1C. The second switch is behind a grate in the far right corner of the room. Smash the grate to get access to it. The other two switches are in the other corridor. On both side, there are rooms marked Fusion Research – 1A, and both of them have grates behind which switches lie.
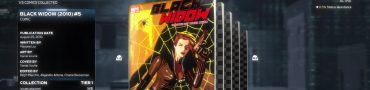
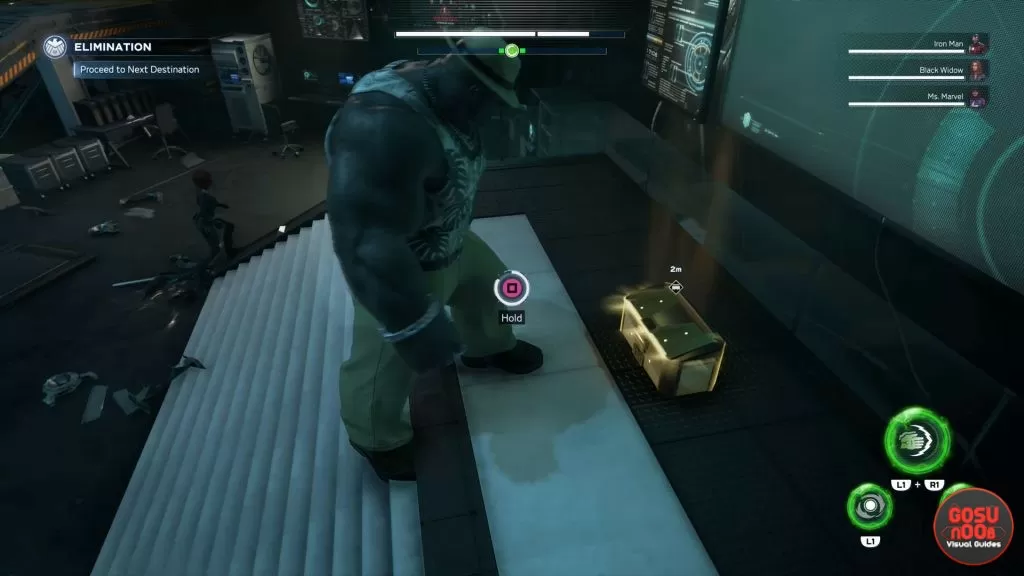
You have to hit all the switches before the sequence times out; that said, it doesn’t matter which order you do it in. When they turn green, you’ll know you’ve succeeded. That’s the solution to the puzzle. Go back to the glass floor, and you’ll see that the beehive pattern, aka the shield, is gone. So, smash the floor and drop down. Take out the turrets and loot the entire room, including the gold chest, which contains a comic, some good gear, resources, etc.