Zelda BotW Dako Tah Shrine Puzzle Solutions
Dako Tah shrine is one of the many shrines in Zelda Breath of the Wild. The goal here is to overcome obstacles by using the electric charges. You’ll need to carry and use a source of electricity in order to reach the Spirit Orb and the four hidden treasure chests. In this Zelda BoTW Dako Tah shrine, we’re going to help you complete the Electric Path challenge.
Dako Tah Shrine Location
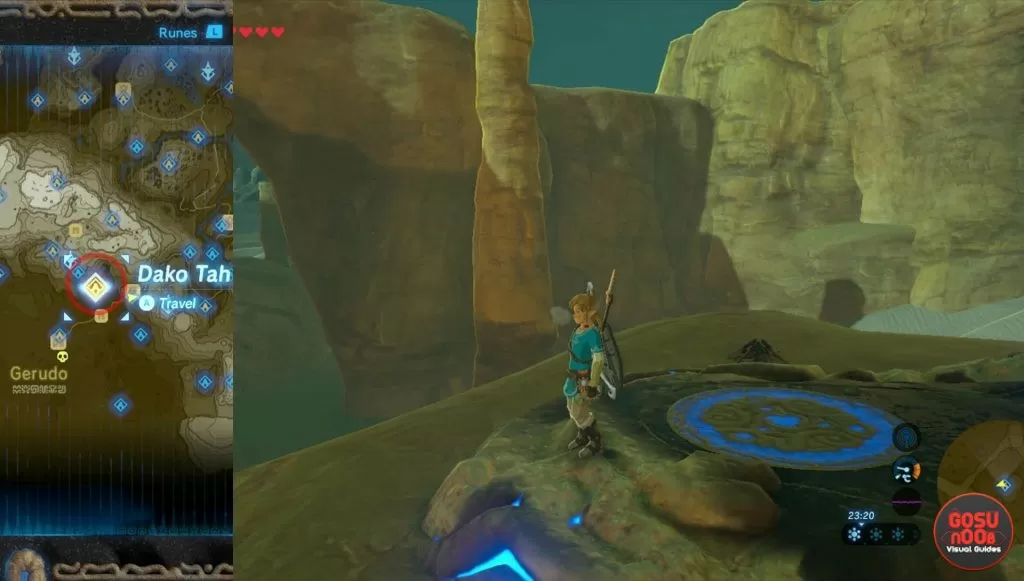
This shrine is located in Gerudo Desert. If you follow the main path from Gerudo Canyon Stable, you’ll reach the Kara Kara Bazaar. From here, head north towards the Great Cliffs. This is where the problem starts. If there is a dust storm in the area, it is highly unlikely that you’ll be able to reach the shrine’s entrance. The map doesn’t help during the storm, as it doesn’t work. The shrine entrance is not on ground level; it is on a boulder that’s slightly elevated.
Zelda BoTW shrine locations map – find & complete all 120
The best way to spot it, for me, was when I glided from the Wasteland Tower during the night, since the shrine glows brightly. The storm is invisible from this distance. Wasteland tower is found just east from Gerudo Canyon Stable, on top of Spectacle Rock.
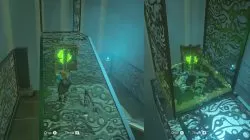
Dako Tah First Room
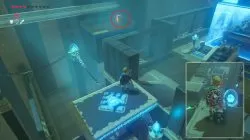
In this room, you’ll see the moving platform. Step on it to reach the other side, where the power cube is located. Once close to the other side, select Magnesis. This rune allows you to pick up the electric power cube.
As soon as you pick up the power cube, the moving platform will stop. To make the platform move, you’ll need to get the cube close to the line that powers its motion. Keep it going until you reach the starting position, this time with the power cube.

Dako Tah Treasure Chests
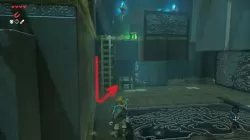
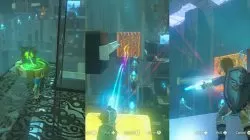
With the power source, climb uphill nearby, and power the elevator by placing the cube next to it. Before you reach the top, somewhere in the middle, there is a hidden treasure chest. Move the power cube to the right time and grab the chest. It contains the Moonlight Scimitar (25 damage). Get back to the elevator and head to the top.

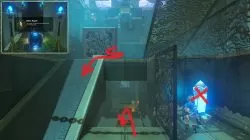
In the new area, with the help of Magnesis, place the power cube onto the metal platform where two guardians stand. It will electrocute them, saving you some time. Once they are taken care of, jump down and look to your right. There is the second treasure chest with the Ancient Core.
In the same area where you’ve dealt with two guardians, there is a metal cube you can move with Magnesis. It opens a path to the next area. This is where you can find a switch crystal. Hit it to power up another elevator next to it. Step on it, and go all the way down, where the third treasure chest with the silver rupee is located. Once you pick it up, head to the top in the elevator.
Next to the crystal switch, there is another elevator that goes high up. Pick up the power cube, head over the metal incline. On top of the elevator, there is a circlular platform that you can place the cube on. It will power the final moving platform. This is the platform that takes you to the Spirit Orb. Step on it and move the metal block that blocks your path using Magnesis.
When you arrive to the Spirit Orb platform, once again move the giant metal block, to the left this time, toward its original position. Wait for the moving platform and use it to reach the final treasure chest. It contains the most beautiful item, called Radiant Shield. Wait for the moving platform once again to reach the spirit orb’s location and complete the Dako Tah Shrine.