Zelda BotW Kaam Ya'tak Shrine - Trial of Power Walkthrough
Kaam Ya’tak is one of the longer shrines in Zelda Breath of the Wild. The shrine’s challenge is called “Trial of Power”. The main goal is to open the large gates that block the entrance to the next rooms. There’s a decent amount of treasure chests in here, with a fair amount of rupees in them. This guide will help you complete Zelda BoTW Ya’tak shrine.
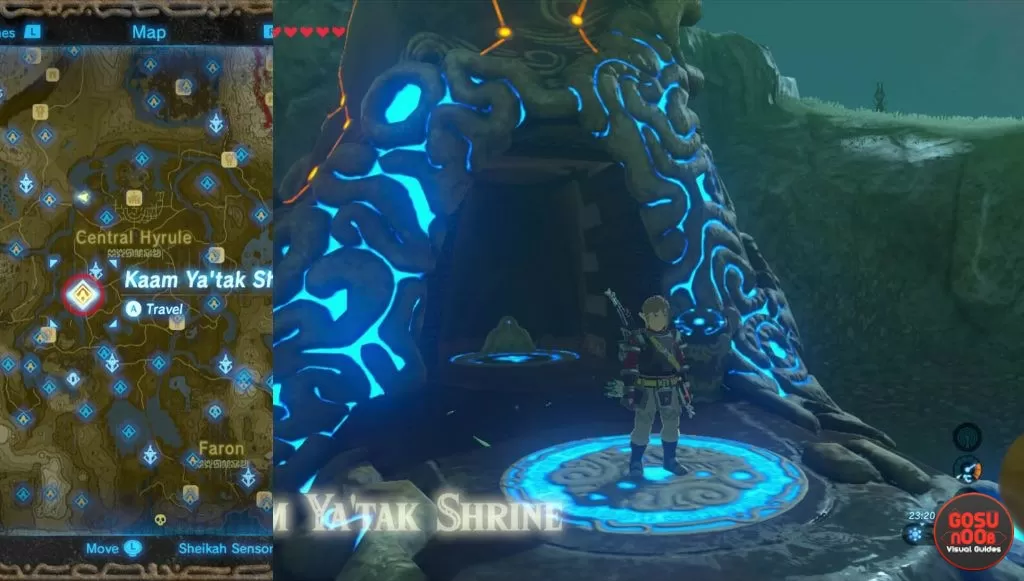
Kaam Ya’tak Shrine Location
This is one of those shrines that are hard to miss. You’ll find it in western Central Hyrule, just southwest from Central Tower, south from Mount Daphnes. It is somewhat tucked into the ground, and might be hard to spot from a distance. If you have the shrine signal on, you’ll find it without any problems, just by following the sound.
Trial of Power Walkthrough
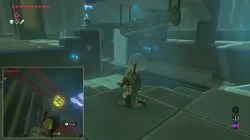
The first Kaam Ya’tak room has the challenge that pretty much encapsulates the entire shrine. To get into the next area, you’ll need to use the power of the large ball and hit the large door in order to open it. You can do it with the help of the Magnesis rune. Simply guide the only metal ball to the other side of the tube and let it go. It will guide the larger stone ball to the door. You can also Stasis the ball and hit it.
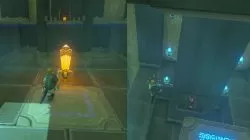
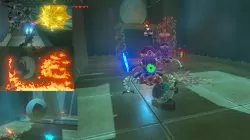
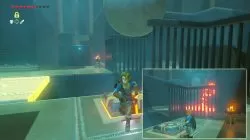
To reach the next door, we have to go through the hallway where the spiked balls blocks our way. You can stop their movement with Stasis or Magnesis. At the end of the hallway, to your left, there are two 100-health guardians. Next to them there is a treasure chest with the weapon “Edge of Duality”. To open the door to the next room, we’ll need to burn the leaves found near the chest. You can do it in many ways – with the help of a fire weapon, shooting down the nearby fire pot from the air, using a fire brazier to light up the arrow or torch… Once the leaf path is burned, it will release the stone ball from the wooden platform above. The same ball will rush towards the other side and through the stone gate.
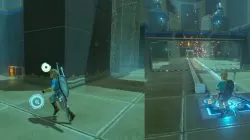
From the entrance to the third room, look to your left. There is chest in the corner, with the Knight’s Broadsword (25 damage). Continue forward, past the two guardians, closed gate, over the seesaw, towards the next larger stone gate. Just next to it, there’s another treasure chest with the Ancient Core. Close to it, go up on the platform with the console. Examine it and use the power of the controller’s movement to hit the large ball. With enough force, it will eventually make the stone ball move towards the gate and open it.
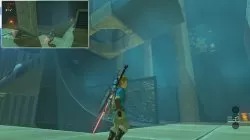
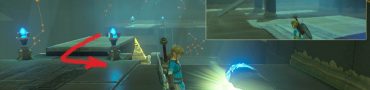
This is where you might come to a tricky section. To open the next stone door, you’ll need to fire up another path of leaves. I’ve done it with the help of an arrow. Just aim next to the fire brazier to light it up, and shoot toward the leaves in the distance. The fire will also destroy the wooden platform underneath the stone ball. For the next step, we need to Stasis the seesaw in its original position and step on the ground switch at the right time in order to make the ball fly towards the seesaw. Once successfully done, you’ll open the gate.
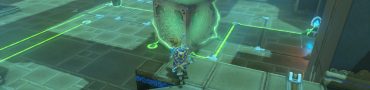
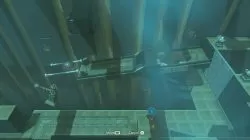
The fifth challenge room is trivial. Step on the ground switch, Stasis the nearby thing that is on the rail tracks and hit it a few times. Wait until it hits the main gate in the distance. Before you head into the last room, be sure to look to your right; there are stone boulders you can destroy with remote bombs. They hide a treasure chest with a Silver Rupee (worth 100 rupees).
The final room has one orange crystal that you should hit. Once activated, it will propel the plate next to it into the air. Use this force not to climb on top of the shrine yet, but to glide down, towards the hidden treasure chest located behind the orange crystal. It contains a Diamond (500 rupees). Get back to ground, hit the crystal twice and complete the Kaam Ya’tak shrine.