How to Apply / Change Weapon Skins in Division 2
Applying and changing weapon skins in The Division 2 is a cosmetic thing you can do in the game. You can also change the appearance of your gear, and even your skills in The Division 2. This mechanic doesn’t do much other than change the look of your stuff, but then again, isn’t that the draw of games like this? So, it doesn’t help that to apply and change Division 2 weapon skins, you have to jump through a few hoops, especially on PC. If you’re struggling with that, here’s our How to Apply / Change Weapon Skins in Division 2 guide to hopefully help you out.
Division 2 How to Apply & Change Weapon Skins?
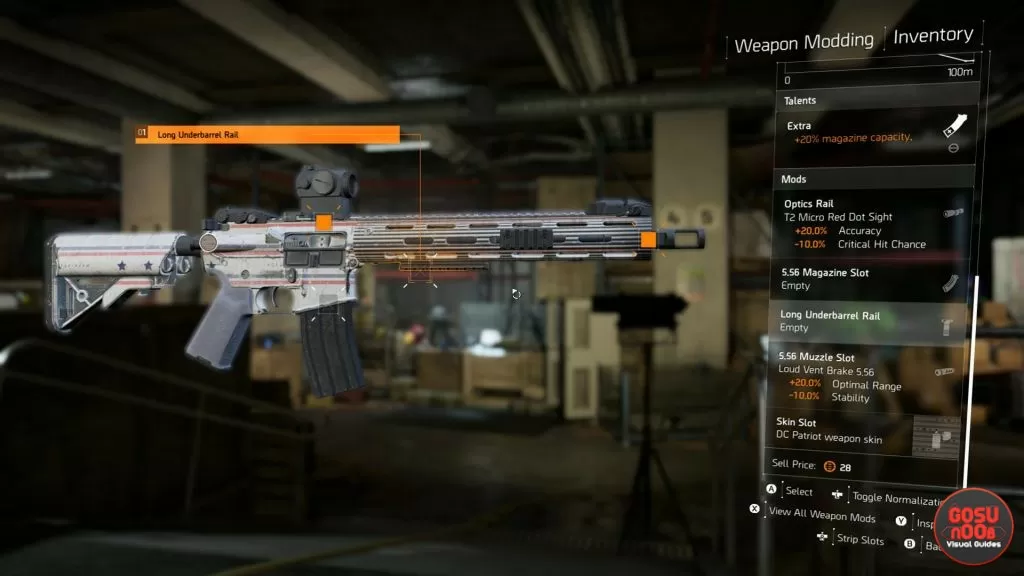
To apply and change weapon skins in the Division 2, you first have to make sure that the weapon has a Skin Slot in the Mods section. As far as we can tell, only Specialized gear and higher have these. So, Specialized, Superior, and High-End weapons (aka Blue, Purple, and Gold) can have their skins changed. That said, applying mods is needlessly goofy, especially on PC. Let’s go through it one step at a time.
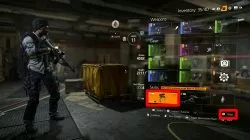
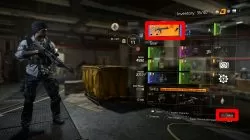
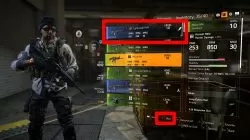
The first step is to go into the Inventory. Select the weapon that you want to apply a skin to for modding. You can do this right from the Inventory menu, if the weapon you want is already equipped, by pressing F on PC, X on Xbox One, and presumably Square on PlayStation 4. The game gives you a button prompt in the lower right corner. This will take you into the Mods screen. If you don’t have the weapon equipped, simply select the slot and scroll down until you find the one you want. The button you need to press remains the same.
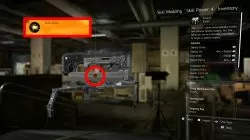
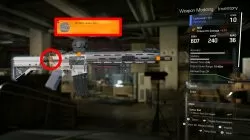
Now, it’s time to select the Skin Slot. This slot is the one near the butt of the rifle. It’s the only circular one; the rest of them are square. On consoles, you can flick through the mods easily with the left stick. On PC, it’s much more unintuitive. Namely, you have to scroll through using WASD. I would recommend using only the A and D keys, to avoid confusion. When you get to the Skin Slot, simply select it and then find the skin you want. Hit Apply, and that’s it.
How to Change Skills Appearance in Division 2?
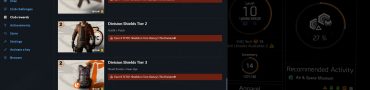
To change the appearance of skills in The Division 2, the process is much the same as with weapon skins. Go into the Inventory, and highlight the Skill that you want to spruce up. Then, hit F on PC, X on Xbox, and Square on PlayStation to enter the Mods screen. The next step is to go to the FX slot. Select it, and find the FX that you want to use. Apply it, and that will change how your skill will look like in action. The same system works for changing the appearance of gear; the only difference that you have to select the Dye Slot in the Mods menu.