Ruin Murals Genshin Impact - The Saga of Mr. Forgetful
Genshin Impact Ruin Murals in The Saga of Mr. Forgetful are six murals that you have to photograph in order to finish the quest. You can only get this quest on your third real-world day of exploring Tsurumi Island. Fortunately, they are close together, so you don’t have to go looking through the entire island. They’re all in the caves in Shirikoro Peak. However, some of them are really well-hidden, one in particular. That’s why we’ve put the problematic mural first in our Ruin Murals Genshin Impact – The Saga of Mr. Forgetful guide, but we’ll also show you where all the others are.

Genshin Impact Take a Photo of the Ruin Murals – The Saga of Mr. Forgetful
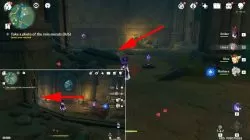
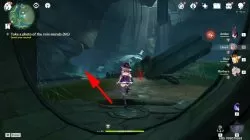
To take photos of the ruin murals in Genshin Impact The Saga of Mr. Forgetful quest, you need to go into the cave in Shirikoro Peak, the one where you find one of the perches and offer feathers. To find the first mural, proceed through the “dungeon” until you arrive at the first Relay Stone puzzle. Go left of the round door and down the stairs, then use the Peculiar Pinion gadget to break the wall. Proceed until you reach the chamber with four purple pillars. Approach the pillar in the bottom right and look up. You’ll see a hole in the ceiling, through which you’ll spot the mural.
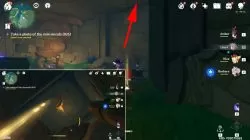
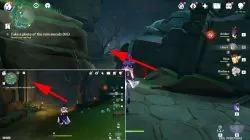
Go back up the stairs to the Relay Stone puzzle and go through the round door, into the large chamber with a cracked dome. From the door, head right until you reach the three pillars into which you fit Seelies. Head up the staircase on the right, and you’ll be in a small room with three murals. Take pictures of all three Genshin Impact Saga of Mr. Forgetful Ruin Murals.
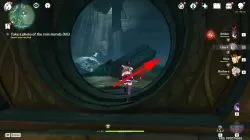
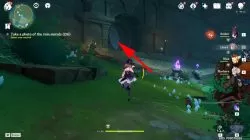
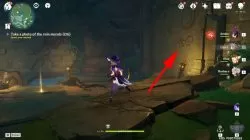
Go back to the door through which you entered this cavern, and then head left instead. Hug the wall and keep going until you see a yellow-glowing lantern. The fifth mural will be next to said lantern. To find the sixth and final mural is behind the second round door, the one that you open by solving this room’s Relay Stone puzzle. As soon as you go through the door, turn right, and there’s the final mural.
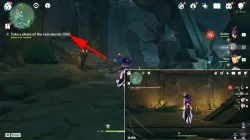
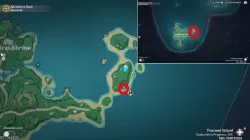
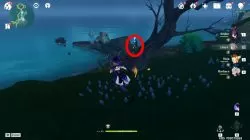
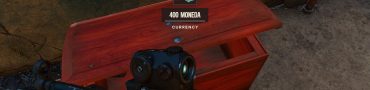
After taking pictures of all the murals, report back to Roald to complete the quest. You can find his location in the images below. Your reward, among other things, is Roald’s diary and the “My Life as an Adventurer” hidden achievement.
all this did was tell me everything I already knew… if knew how to get to the exact location where it is, then i wouldn’t be looking up a reference…. as a tip I’d say next time be sure to include actual map locations from the big map page instead of assuming people can just guess where it is from the minimap.