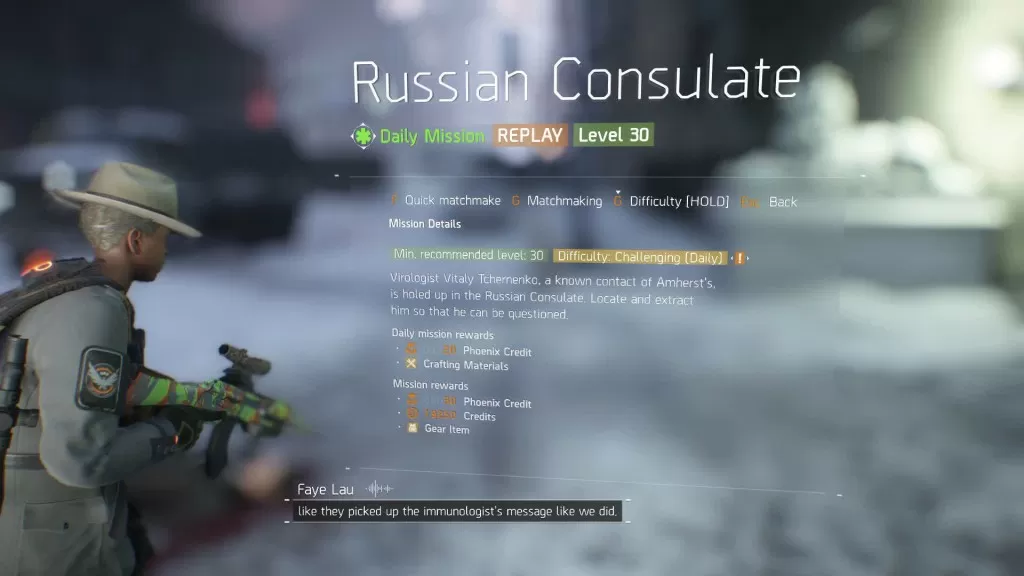
Russian Consulate is one of the story missions in The Division. When you’ve gone through the story and reached rank 30, you’ll unlock the challenging difficulty for this quest.
▼Article Continues Below▼
It will be available as a daily activity, letting you face much stronger enemies, but gaining Phoenix Credits and rare yellow equipment as rewards. This guide will show you how to beat Russian Consulate Challenge Mode in The Division.
In case you’re new to the end game and can’t quite figure out how it all works, check out our Division Challenge Mode guide for more general advice on beating these missions.
Investigate the Russian consulate
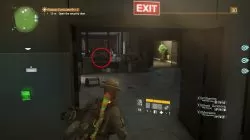
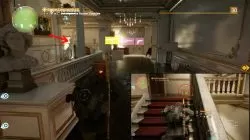
After you enter the building, you’ll fight the first group of enemies. Take care of the 2 shotgunners first. Keep behind the metal detectors at first, since a only a part of the group can see you while you’re there.
Eliminate the LMB
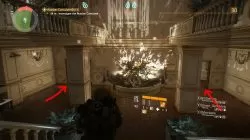
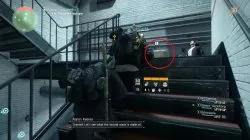
There’s an ammo chest on top of the stairs opposite the elevator. The next group will also have several shotgunners. Draw them out, head back down the stairs and into the hall. Do not fight in the stairwell – it’s too confined. Repeat the process with the rest of the group. Watch out for the shield bearers.
Another group will come in after that. You can deal with them on the balcony, since there’s enough room to maneuver. After you clear this area, you’ll see another ammo crate.
Secure the server room
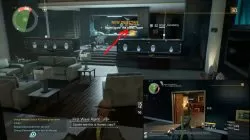
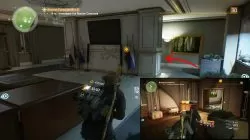
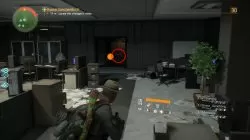
While you’re looking for the virologist’s notes, you’ll end up in the server room with a group of mercenaries. Kite them outside, shotgunners first. The area around the reception desk is easier to defend. Expect thugs with turrets and seeker mines in this group. You can shoot the mines to disable them while they’re moving.
Some of them will stay behind in the server room, taking hold of a choke point at the door. It’s still easier to break through their defence here than to take on the whole group. There’s a resupply chest in front of the server room, as well.
Neutralize the LMB
As you access the virologist’s data, another group will storm the server room. Use the same tactics as before – kite them outside. Expect more technically minded enemies this time (the ones that place turrets).
Open the security door
Restock after you leave the server room. When you get to the stairs, you’ll reach one of the hardest parts of the mission. There are only a few shotgunners on the top floor, but there’s a large group with several shield bearers on the lower.
Ammo crate
Stairs with choke points
Down there, there are 2 choke points that provide decent cover. Use them, and don’t go into the next room. If anyone tries to rush you, just retreat up the stairs.
Secure the library
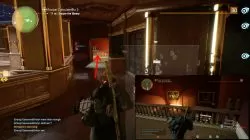
After you investigate the panic room, you’ll get to the library. Do not fight on the stairs – ignore the gunshots and run to the right, into the stairwell. You’ll have a clear view of the library from there, so you’ll be able to pick the enemies off one by one. Focus on the shotgunners first.
Restock cache
Library stairwell
After the group is down, run away – the reinforcements will come through the door behind you. Draw them out, return to the stairwell and repeat the process.
Pursue the virologist
Grab some ammo from the crate on the stairs. When you’re at the top, you’ll have to kill several shotgunners first. Since they come down a straight, narrow passage, you can use sniper rifles to line up shots. You have to kill them before they reach you, or you’ll have to fall back all the way to the library. Once that’s done, deal with the snipers.
Resupply chestFinally, you have to defeat Hornet. Don’t get too close – start the battle at the tree, then slowly fall back. There’s a group of seven thugs in the far part of the garden that you don’t need to kill, but you have to be careful not to draw their attention.
 Some of them will stay behind in the server room, taking hold of a choke point at the door. It’s still easier to break through their defence here than to take on the whole group. There’s a resupply chest in front of the server room, as well.