The Last of Us 2 Seattle 'Downtown' collectibles - Safe, Journal Entry, Artifact, Trading Card, Workbench locations guide
Seattle Day 1 Downtown chapter in The Last of Us II is one of the biggest open levels in the game, and contains a ton of collectibles in it, including trading cards, artifacts, journal entries, workbenches, safes, and more. Given the size of the level and the sheer amount of dark corners where collectibles can hide, it’s a bit of a nightmare to find them all. To help you out, we’ve put together our All Seattle Day 1 Collectible Locations in Last of Us 2 guide.
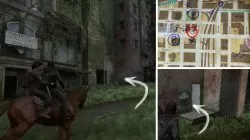
FEDRA Census Document Artifact Location
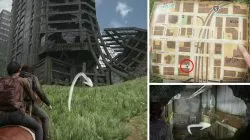
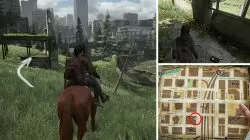
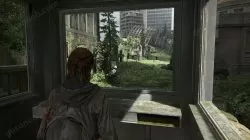
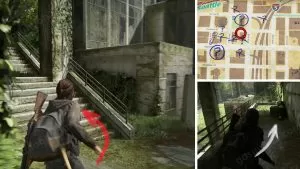
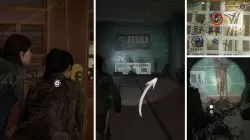
After a bit of wandering through the streets, you’ll arrive at Gate East 2. It can be opened by turning on the nearby generator, but it is out of gas. Just a few steps away from the gate, there is a guardhouse. Open the drawer inside, and you’ll find the FEDRA Census Document artifact. Then, cross into Downtown Seattle, and you’ll finally be able to use a map.
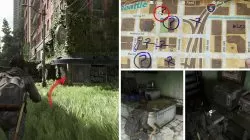
Bank Heist Plans & Bank Robber Letter Artefact
Our first stop is Westlake Bank. This building is close to the corner of Cherry ST and 6th Ave, in the bottom left of the map. There is only one entrance, from Cherry ST. Go inside and, after making your way through the rubble, you’ll spot the Westlake Bank entrance below.
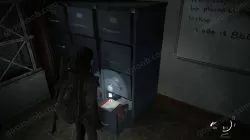
Head left from the entrance and find the safe deposit lockers room in the far corner. Inside this room, on the ground, is the Bank Heist Plans artifact. In the same room, there is vault that you can open using the combination on the artifact you just found. Inside the vault, you can find a new weapon, the Pump Shotgun, an artifact – Bank Robber Letter, and the Antique Ring artifact in one of the lockers, which serves as a subtle nod to Uncharted.
Cache Hunter Note & Letter from Isaac Artefact Location
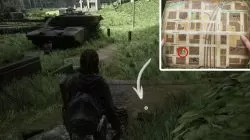
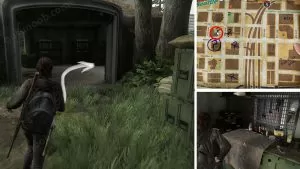
North from the Westlake Bank, there is a small ruin, overlooking the nearby river that used to be 6th Ave. Said ruin is between Colombia ST to the north and Cherry ST to the south. Once you get here, you’ll spot a purse on a ground, with the Colin – Cache Hunter Note artifact inside.
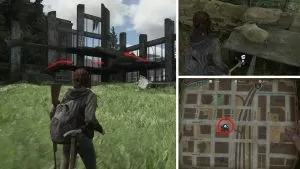
Our next stop is , well, a bus stop in the southwestern corner of the map, just west from the previous artifact. It’s on the corner of 5 Ave and Colombia ST. Once you get there, you’ll spot a rusty tank. Approach the building behind it, climb the stairs, and look at the rubble on your left. You’ll find another purse on the ground, with the Letter from Isaac artifact within.
Doctor Uckmann Trading Card
The next location is on the corner of Marion ST and 6th Ave. Use the stairs to climb onto the upper platform of the ruins. Break a window here to get onto the walkway outside. Follow the walkway around the building and you’ll spot and hop over the gap. The second terrace leads to a path on the right that leads you to an improvised table among a bunch of sandbags. The boxes contain a lot of scavenged parts, supplements and the Doctor Uckmann Trading Card.
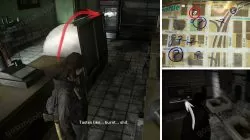
Das Wort Trading Card
Next place is a Valiant Music Shop, located on the corner of Marion ST and 5th Ave. From the entrance, go left, and look behind the counter. In the drawer is the Das Wort Trading Card. Climb to the floor above and find the guitar if you want a bonus minigame.

Street Drawing Artefact & Journal Entry Location
Otherwise, from the upper floor of the shop, go outside, and follow the walkway down and to the left to the second guard house. Inside, you’ll find a drawer with another artifact – Street Drawing. Wait for a second after collecting the artifact, and a prompt for making a journal entry will appear right above the drawer you just opened.
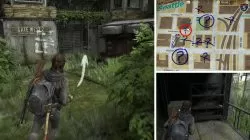
Workbench Location
Exit the music shop, round the corner, and climb up the stairs on the left. You’ll find a restricted area with a tent. Inside said tent, there is a workbench, scavenged parts, and a FEDRA scanner.
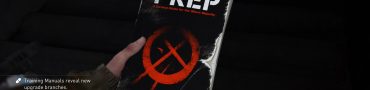
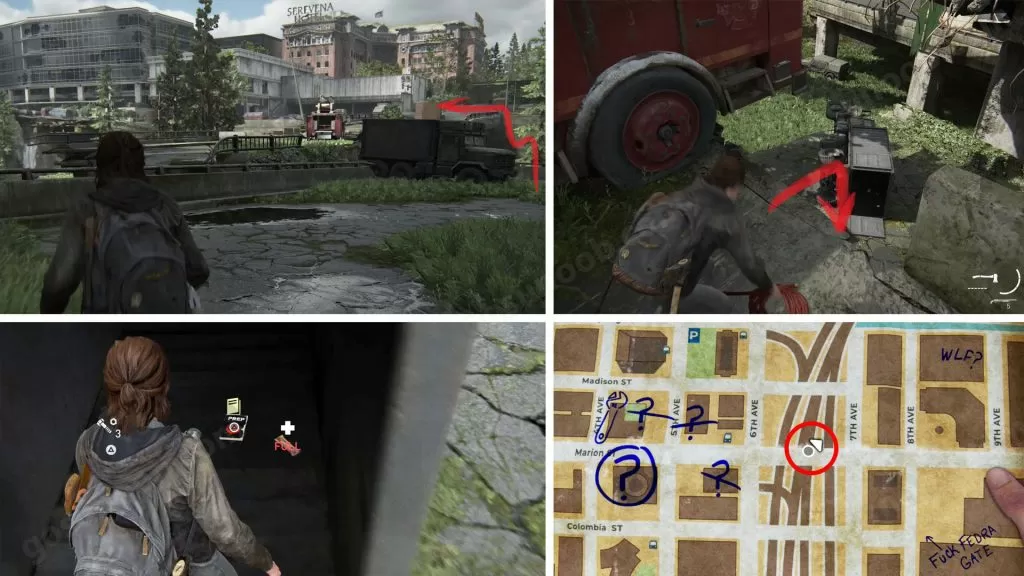
Get on the overpass in the middle of the map. There is a truck on 6th Ave that you can climb on, and get onto the overpass. The fire truck you’ll come across has an axe and some loot in its side box, but most importantly, there is the hose attached to it. Pick it up, and get close to the edge of the overpass. Ellie will start going down and, near the end of the hose, you’ll get a prompt to swing. Do it toward the platform with a truck on its side. In the back of the truck, there are supplements, and the Crafting training manual.
Note to Informant Artifact
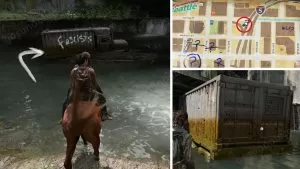
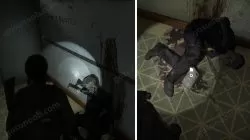
Now follow the river north, until you find a truck in the water, with an ugly sign written on its right side. Open the back of the truck, and you’ll find some scavenged parts and the Note to Informant artifact. And a whole bunch of bodies, too.
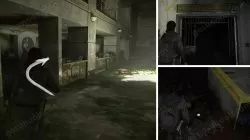
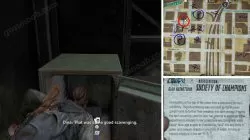
WLF Safe House Supply Note Artifact & Big Blue Trading Card
On the corner of 5th Ave and Spring ST there is a Ruston Coffee shop. Break the shop’s window to enter it. Inside you’ll find the WLF Safe House Supply Note artifact, scavenged parts, ingredients, the Big Blue Trading Card, supplements and more.
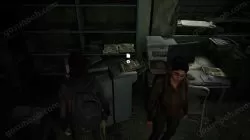
Pet Store Key & Join WLF Note artifact
Inside the shop’s bathroom, you’ll find the Barko’s Key – Pet Store Key Artifact. If you flip it, it reveals an address – 900 Marion and Sixth. The door that this key unlocks is in an alley next to the Music Shop, at the center of the block between Madison ST, Marion ST, 5th Ave and 6th Ave. Inside Barko’s, among other treasures, you’ll find the Join WLF Note artifact, a new map location upon examining the whiteboard, a Stun Bomb recipe, supplements, the Long Gun Holster, and more.
WLF Community Supply Chest Note Artifact
Leave Barko’s, go left into the alley, take the first right, and head north, to the Courthouse. Just before you hit Madison street, look right and there is a set of stairs leading to the upper platform. As you make a left turn, there on the ground, next to box is a bag. Inside the bag is the WLF Community Supply Chest Note artifact.
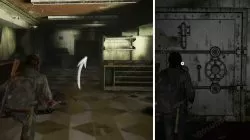
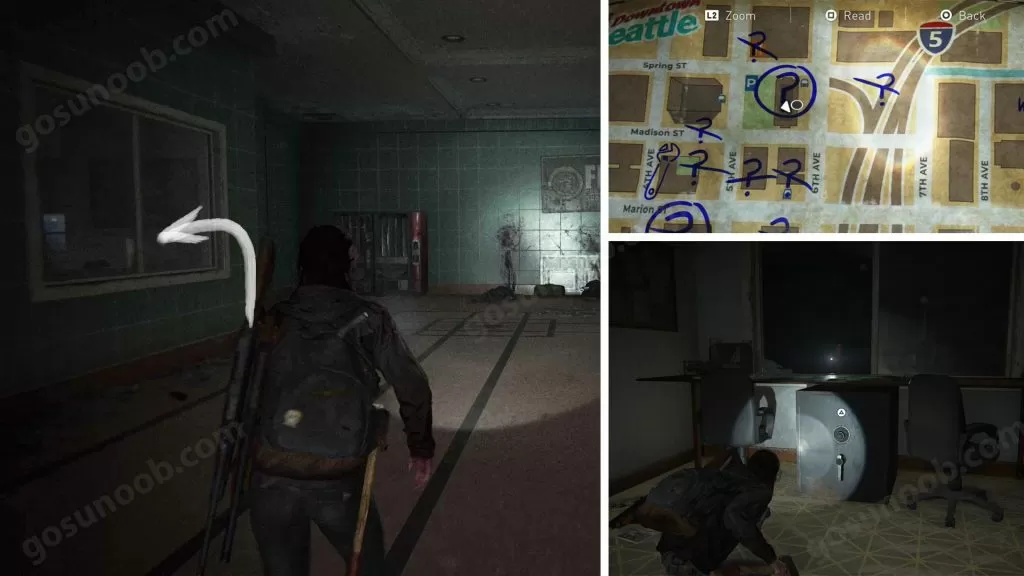
Safe & Flo Trading Card Location
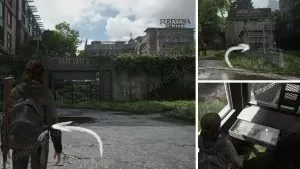
If you’ve checked the whiteboard at Barko’s, you got a new mark on Madison ST. It’s the part of the street just between 4th and 5th Ave. There is a brownish International Delivery truck on the corner of Madison and 5th Ave. From it, look north and you’ll spot the Gate West 2 sign, next to a flipped truck. Squeeze through the gate. A bit further in, you’ll see yet another safe, with the code hint next to it: “USE GATE CODE”. Look at the Checkpoint Gate Codes artifact to find the West Gate 2 Code (0451) and use it to open the safe. Inside, you’ll find scavenged parts, supplements, the Flo Trading Card, ammunition and more.
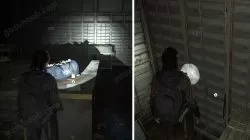
Emergency Protocols Memo Artifact
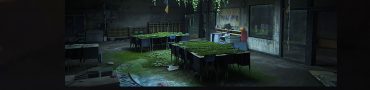
Once inside the synagogue, find an entrance into the area behind the metal bars area, and go through the small passage between the shelving units. Move the cart towards the bars with the “Flammable” sign. Jump over the fence and try to get some fuel. Get back to that cart, and move it to the back of the synagogue. Now you can use the height of the cargo to climb onto the upper floor. This is where you’ll find a lot of scavenged parts, the Emergency Protocols Memo artifact, a Torah, etc.
Journal entry & Rabbi Saunders’ Letter Artifact
On the same platform, you’ll find a rope that can swing you to the other side. Before going out check the room nearby. It has a Hebrew calendar on the wall – a Journal entry, supplements, and the Rabbi Saunders’ Letter artifact.
Plea to a Friend Letter Artefact
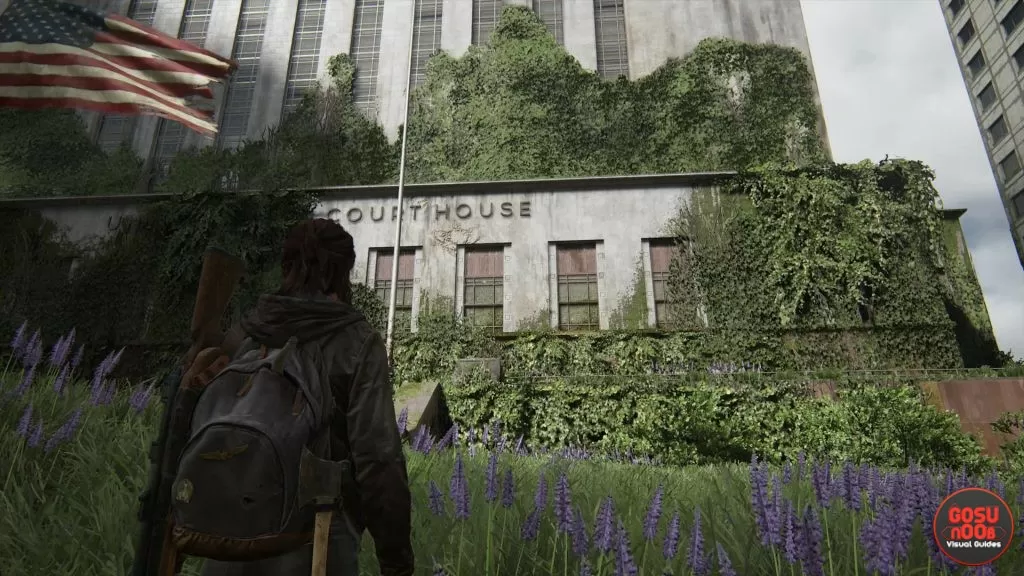
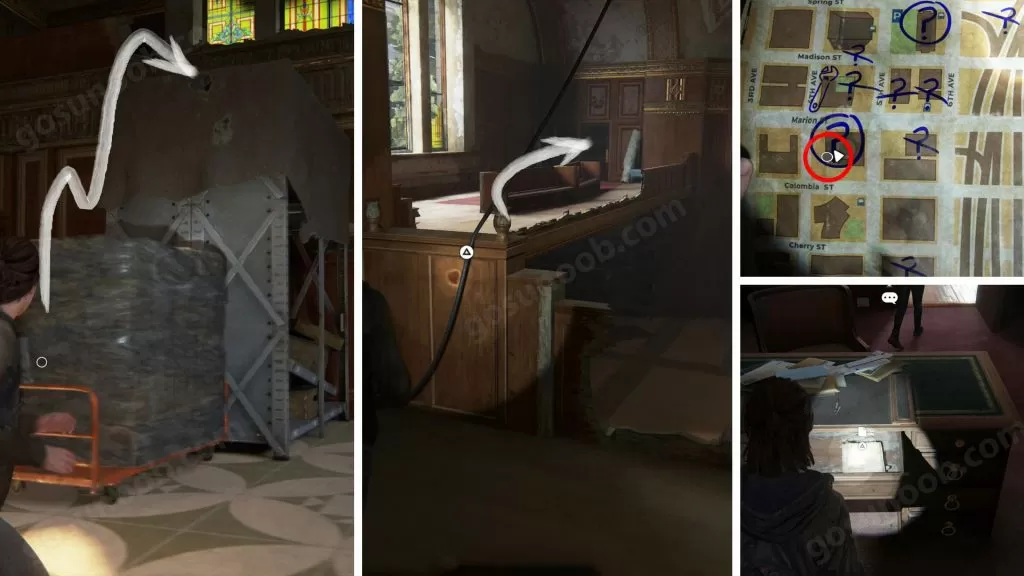
As you explore the Courthouse and after going through the door that’s blocked by bookshelves on the other side, head downstairs. On the lower floor, continue forward, until you reach the far right corner of the blue-tiled area. On a corpse next to some bags, there is an artifact – Plea to a Friend Letter.

Two Artefacts and a Safe Location
In the same room, there is a locked yellow door, and a breakable window. Go through the window and into the office. This room has two artifacts – Lt. Torres’ Final Memorandum (pull the machete from the stiff) and List of Known WLF Agitators – and a safe. The code is written on a whiteboard nearby. It guards ingredients, supplements and scavenged parts.
WLF Recruiter Journal artifact & Know it All Trading Card
Proceed through the level and enter the building with a big WLF flag with the wolf head. Go through the main door of the WLF building, and go right. There will be stairs that take you up. Go behind the first door, and there, you’ll find the WLF Recruiter Journal artifact inside a drawer under the TV set, as well as the Know it All Trading Card in a nightstand between two beds. From this moment on, it’s a straightforward ride, with no collectibles, until the next cutscene.

Previous Chapter
Seattle Day 1: The GateNext Chapter
Seattle Day 1: Eastbrook Elementary