Zelda Botw Mogg Latan Shrine Guide
Mogg Latan shrine is one of the many puzzle dungeons in Zelda Breath of the Wild. It might be considered one of the easier shrines, but it punishes mistakes harshly. While inside, you can hope for loot from three treasure chests. The loot isn’t the best, but the 300 rupees are not something you’ll want to pass. Be sure to bring at least two arrows before you head inside. In this Zelda BoTW Mogg Latan Shrine guide, we’re going to show you how to beat the Synced Swing challenge.
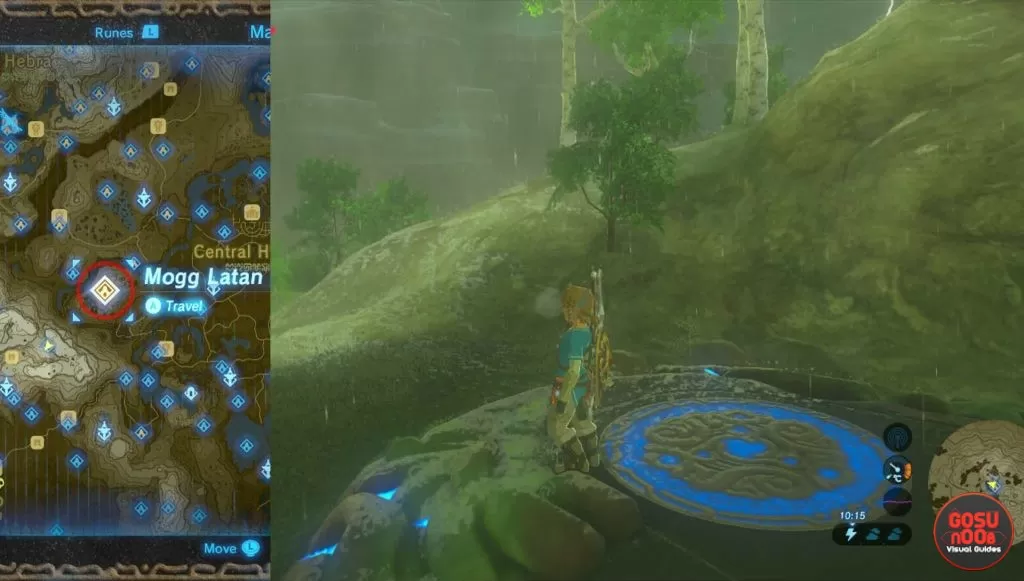
Mogg Latan Shrine Location
You can find this Shrine on top of Satori Mountain. You’ll need to do a fair bit of climbing, as this mountain is fairly high. There is only one shrine in this area, but if you are careful enough, you’ll spot many Korok Seeds close by.
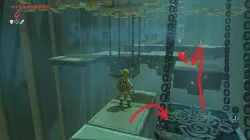
Mogg Latan Bridge
As soon as you enter the shrine, you’ll spot two moving metal bridges. Be fast and jump on the closest one. The reason for haste is because their movement slows down as time passes. When this happens, you’ll have to use Magnesis to pull them towards you, Stasis to stop them, then step on them and swing in order to jump on the other side. We want to avoid this.
The next obstacle is a giant drawbridge. You have to aim and shoot the two ropes holding it. This will lower it, making it possible to walk over and reach the other side. However, sometimes it will not fall, leaving you with no options but to restart the shrine.

All Treasure Chests in Mogg Latan Shrine
Head right from the bridge, toward the first treasure chest. It is not hidden in any way. It holds a weak weapon called Forest Dweller’s Spear, which has 11 damage.
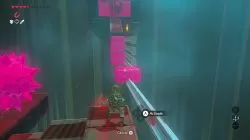
Get back to the bridge and head toward the spiked balls. To deal with them, you can use Magnesis to pull them high up into the air. There is a beam holding them. All you need to do is wrap the balls around it, and they will not trouble you at all. The chest at the end of this pathway holds the Forest Dweller’s Bow.
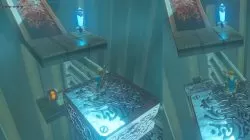
The next challenge requires you to use Magnesis on the metal platforms that move on the metal beams. The first one slides, so you can pull it towards you, step on it, and ride it to its starting position. You can make stairs out of these platforms. Climb on them, and jump toward the somewhat hidden treasure chest. It contains a gold rupee, worth 300 rupees. Arrange the metal platforms into stairs again, and head up.
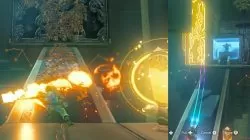
The final door is blocked by a wooden beam. To deal with it, you can do a couple of things. The crystal you find on the top platform lowers the two metal braziers. You can swing them using Magnesis, and shoot the ropes. They will fall on the pathway with the leaves, setting them on fire. You can also pull out any fire weapon, swing it around the leaves and it will set them on fire as well. Whatever approach you choose, it will burn up the wooden beam. Use Magnesis to push it into the next room, where the Spirit Orb is.


If you throw a bomb at the bridge it will come down