Bonecharm Locations | Dishonored 2
Mission 7: A Crack in the Slab bonecharm locations
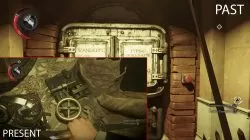
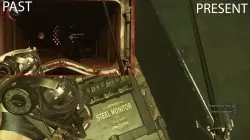
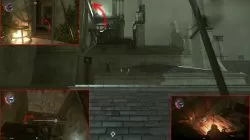
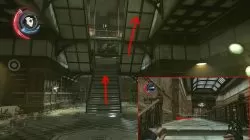
1. To get the black bonecharm go to the furnace room.
Act 8: The Grand Palace bonecharm Locations
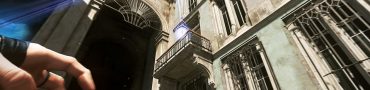
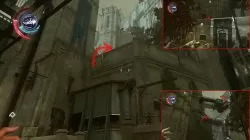
1. To find the first black bonecharm, as soon as you get off the skiff, head to the right and keep going that way. The road will lead you next to a beggar, and finally to the beginning of a very long street. On the right side of the street you can see a Winslow safe shop. Across the street of the shop, you can see a balcony on the first floor. Go inside the room full of sculptures and collect the black bonecharm.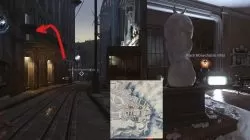
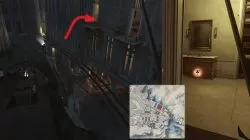
2. As you’re standing next to the big tree overlooking the entrance to the palace, take note of the open windows balcony on the left. Hop on inside and go to through the apartment to the bathroom. The bonecharm is under the sink.
3. The building closest to the entrance to the palace grounds is open. Go inside and up to the last floor. Use Emily’s Shadow Walk to go through the mouse hole. At the end of the mouse hole is the room with the bonecharm.

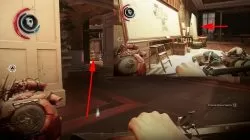
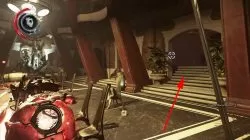
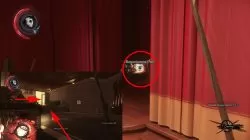
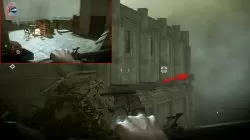
5. The following bonecharm is on the ground floor. Get to the dining room. Go to the side of the table opposite the large statue. Take the stairs on the right, go up the next stairs, and then through the first door on the right. There’s a bedroom behind curtains. The bonecharm is on the bed.
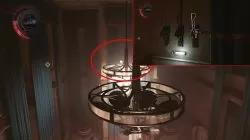
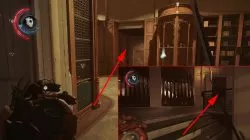
6. The Black Bonecharm is in the Duke’s shrine to Delilah. Go to the dining room, and stand in the same place as before. This time, when you go up the stairs on the right, take the door to the right. Turn left and go down the stairs. Follow the corridor until you reach what seems like a dead end. On the left of what appears to be a wooden wall is a button. Press it to activate the secret door. Go down into the hidden chamber. The creepy shrine is on the immediate left.
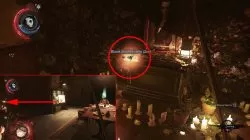
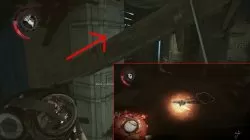
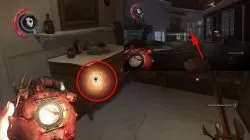
7. There is a bonecharm in the throne room on the throne. However, the area around the throne is booby-trapped. To get it, go to the area where servants are tied to targets and turn your back to them. Go forward and disable the guards downstairs. Now, open the glass door. You are behind the throne now. Remove the whale oil to disable the traps. Now, circle around the throne and get the bonecharm.
Bonecharms in Mission 9: Death to the Empress
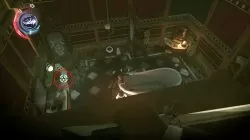
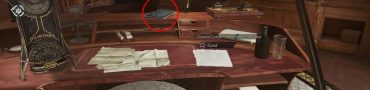
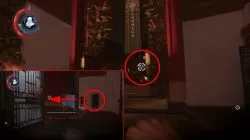
1. While you’re still aboard the Dreadful Wale, steal the key from Meagan Foster’s belt. Go into her cabin and snatch the two charms off the desk.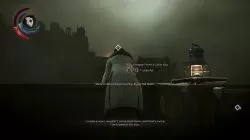

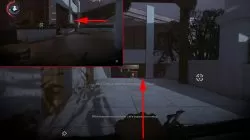
2. When you get to the gate that leads into Dunwall tower, turn left and climb onto the wall. Teleport atop the giant rock, then up the pipes. Climb the vents by the chimneys until you reach a balcony. Go inside, into the room opposite the entrance. The charm will be on the pipes hanging close to the ceiling.
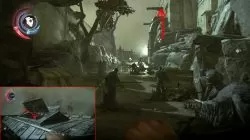
3. After you go through the gate in the tower, you’ll see a bunch of petrified people on the road. Climb the rocks and pipes on the left until you reach the roof. Jump through the skylight, into the greenhouse. The charm is in one of the corners.

4. When you reach the gazebo where empress Jessamine was killed, go towards the sea. You’ll have to use the pipes to go around the tower and get the bonecharm from the small terrace that’s back there.
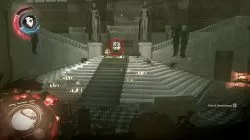
5. When you get to the grand hall, you’ll see a crucified man at the bottom of the stairs. There will be two bonecharms hanging from his body. Be careful, though – you’ll be ambushed by a bunch of enemies here.
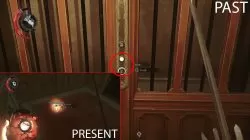
6. Use the double stairs to climb to the upper floor of the palace/tower. Use the right set after the landing, and turn into the corridor on your left. After you make a couple of steps, turn around and look up. You’ll see a beam you can teleport to. Go into the right room once you’re up, and you’ll find the charm on a table there.

7. After you’ve got the previous one, go out into the main hall again (where the stairs are). Go into the passage across the gap, turn around and look up. Teleport onto the beam and go into the room on the right. You’ll see the charm on a table even before you drop down.