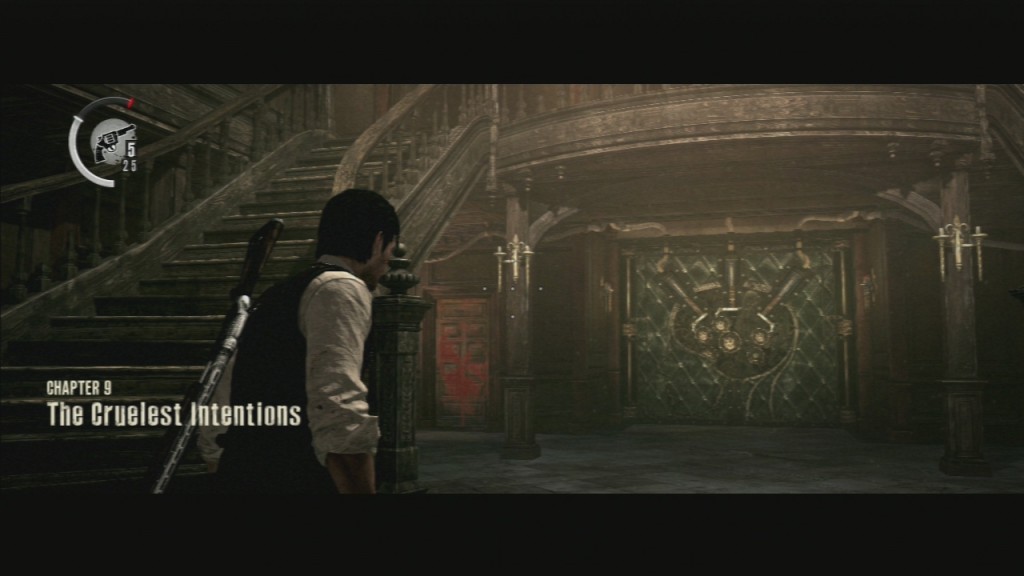
Chapter 9 – The Cruelest Intentions is chapter full of lore. It has many short cutscenes that enrich the story of The Evil Within.
▼Article Continues Below▼
Finally you can find out about some parts of the story hiding behind the main theme. It was really fun to play through. Note: Be sure to keep at least one match in order to collect the final chapter key.
UPDATE: For those of you who do not like reading walls of text we have created a video walkthrough guide that goes through all the same points as the textual version of the guide does.
For those of you that prefer text guides continue reading bellow
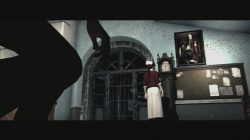
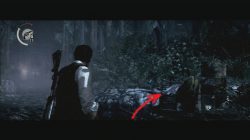
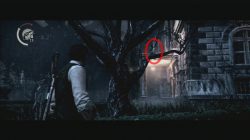
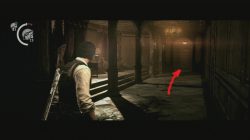
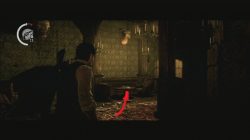
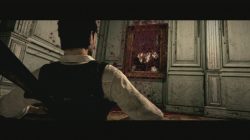
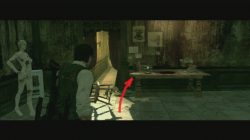
Once you start the chapter you find yourself inside the Hospital’s Main Hub. Check out the family picture above missing persons board two times. Newspapers: “Estate Fire” appear on the desk next to the Nurse. Return to the hallway with cells to start the next part. You find yourself at the beginning of a new path. As you reach a small crossroad look up for Map Fragment 15. Proceed froward and go through the mansion gate. Just before the mansion entrance, among the dry trees, you can find the first small statue that gives a key when destoyed.
Family picture above the missing persons board.
Map Fragment 15.
Key Stone Statue.
As you enter the mansion the chapter officially starts and the game gets saved. Go inside a small room behind blood marked doors. There is a Personal Document: “Krimson Post newspaper clipping” there. If you use the mirror to reach Hospital’s main hub you can find additional lore – Newspaper: “Bodies Found Near Estate”, Missing Person Poster: “Ruben”.
How to avoid / survive Ruvik?
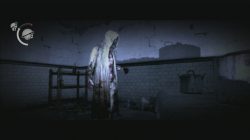
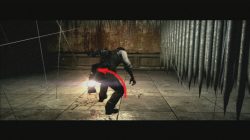
As you explore rooms of the mansion that are open you will eventually start a section of the game where Ruvik appears. You know that he is around as horror music starts playing and screen goes almost completely black and white. You can’t kill Ruvik (or I am missing something). In order to escape from him you have to run in the opposite direction until you find a safe place. Safe places are under the bed, inside a cabinet and similar. You are safe once the music stops and screen colors are back.
Hiding from Ruvik under the bed while he is still in the room is not a good idea.
How to open the main mansion doors?
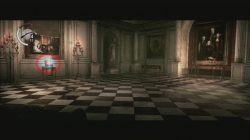
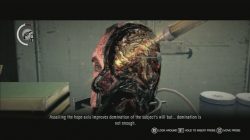
In order to go through this door you will have to do a little “research” and activate three sequences. This requires you to find three rooms inside the mansion where you can poke/insert probes into brains. Successfully probing one brain you activate one sequence. Three successfully placed probes are three needed in total. Once you accomplish this, main doors of the mansion hall unlocks and you can continue the chapter.
Once you activate three sequences the doors opens.
First part of the mansion sequence
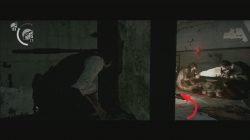
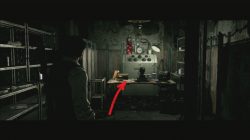
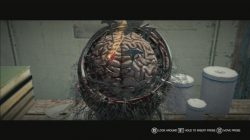
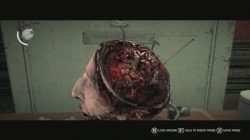
If you decide to go inside the room next to the one with a bloody sign on the door, you enter the dining room. Inside it, on the edge of a table, there is a Document: “Dining Room Note”. Further inside is the kitchen. Inside the kitchen two monsters feast. Next room is what appears to be a storage room. This is the room where you’ll find the brain specimen. Interact with it. Insert the probe just left of middle center cut. It has to be the correct location.
Document.
Kill the monsters.
Interact with the instruments.
You have to insert the probe in the right location.
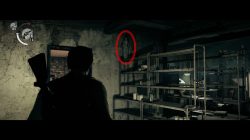
Don’t forget to pick up the Key from the Keystone Statue found inside the same room. We would like to thank user mike for for pointing this out.
Keystone Statue.
Second part of the mansion sequence
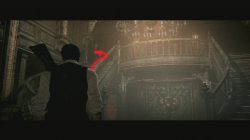
Next room you should go to is on the second floor. As you climb the stairs to the second floor go through the doors just left of the large central ones. You enter a library. Use the nearby red ladder to reach the part of the library that hides Upper Safe Dial. This item is crucial later on. Go down the ladder. Inside the library find an entrance to a long hallway. Inside the first room to your left is a document: “Ruvik’s room note”.
Climb to the second floor of the mansion and go left.
Upper Safe Dial Location.
Document.
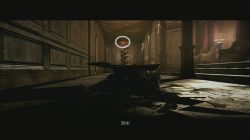
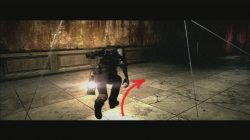
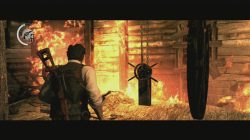
Further in you come to the hallway with wooden pillars. Enter the bathroom here for Map Fragment 16. As you go toward the end of the hallway a trap activates and you get sucked toward huge rotating meat grinders. In order to survive this trap you should shoot the red light above the trap.
Map Fragment 16.
Survive the trap by shooting the red light.
Go through this door.
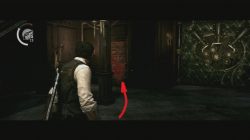
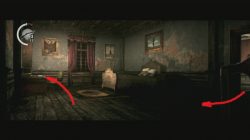
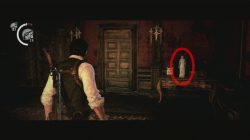
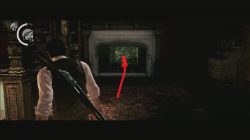
Once inside the next hallway enter the first room to your left. This is the main bedroom. As you go in turn left. There is a second stone key statue. Inside this bedroom go through a fireplace. This path reveals location of a hidden room. Insert the probe right (all the way right – kind of in the back of the head) from three placed probes to activate the sequence. Leave the master bedroom and turn left. Going further in you enter a hunting trophy room. On the table there you find Audio Tape: “Case Study: Psychic Barriers”. Next door takes you to the second floor of the mansion entrance hall.
Second Key Stone Statue Location.
Go through the fireplace.
Another probe testing.
Audio Tape: “Case Study: Psychic Barriers”.
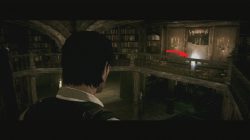
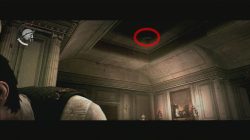
Enter the largest double door on this floor. As you go in to your left is another key item: “Lower Safe Dial”. Pick it up. Before you leave the room look up. There is another hidden stone key statue. Shoot it down to be able to collect the key. Get back to the first floor of the mansion hall entrance.
Lower Safe Dial Location.
Key Stone Statue #3
Last part of the mansion sequence
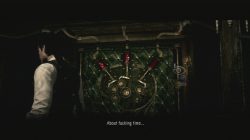
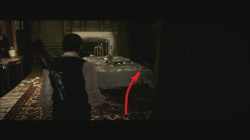
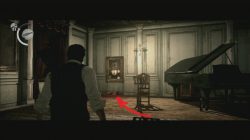
The last room you should go inside is the one across of the door with a bloody sign on it. Inside this part of the mansion you find a music room. This room has a large piano inside. Next to it you can find a picture on the wall with blood bellow it. Bellow this picture, on the floor, is the Document: “Music Room Note”. This is the picture where you should place the two previously collected key items: Upper Safe Dial and Lower Safe Dial. Piano room safe code is 11 on the upper dial, 2 on the lower dial. This unlocks a hidden door. Insert probe at left part of the brain now. Final sequence is engaged. Go back to mansion entrance hall.
Document is under the picture.
This is the picture where we place two Safe Dials. Combination is 11 up, 2 down.
Correct probe location.
How to survive the traps
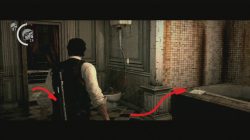
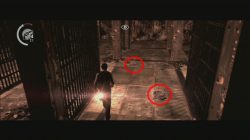
Main mansion doors lead to a hallway where all the madness starts again. Following the only path you enter a room with many spike traps on the ceiling that slowly go down section by section. If you step over the many trap lines ahead of you they activate the spike above you immediately. In order to escape you have to find a way between them. For starters, crouch and go to your left. Keep to your left and you will notice a clear passage to the other side of the room, so head that way. Once close to the wall go towards the exit. In the distance you can spot another way out. Use it and escape.
Crouch to avoid.
Find the correct path.
Escape the area.
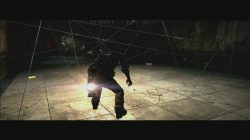
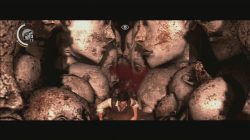
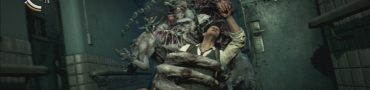
Further in you find yourself inside a large room. Once you step inside a monster made of blood starts to chase you. Metal gates starts dropping down as well, leaving you with only one way out. Following the only path you should be aware of mine traps. Once you leave the metal gates behind, and the walls starts to close on you, run!
Shoot at the locks to go through.
Avoid mines.
Run or die!
You are now inside the next room. On the table in front of you is Map Fragment 17. Leave the area through a hallway.
Map Fragment 17 Location.
Barn
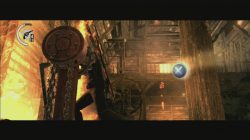
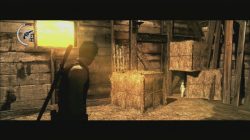
Once you find yourself in an open field you should enter the barn. In order to find your way out of the barn find a grey metal switch and use it. This will move the metal cage to barn’s second floor platform. Another red colored metal switch brings the cage down. Enter it and shoot the same red switch. This takes you up. Note: Do not leave the barn yet. Right from the window that takes you outside is a pile of hay bales. This is where you should use that one remaining match I talked about at the beginning of this guide. Burn the hay and reveal the location of the last Key Stone Statue. If you have no matches get close to the hay bales and push them away with your body.
Use this switch first.
Use this Switch next.
Stone Statue among hay bales.
All this trouble just to fall down to barn’s first floor. Shoot the monsters that show up to complete this part of the chapter and the whole chapter as well.Single, precise, shotgun shot can kill more than one monster.
When you enter the mansion turn left and go through the kitchen in the room with the first brain puzzle. After entering the room turn left and look up. Ther is a big stone statue on the shelf.
Thanks for info, it’s included in text guide already. This video was something like test for first time, if you found that helpful (for main story) and you want to see more with improvement in terms of editing please let us know 🙂
Actually, it’s not in the text guide. I missed that key a couple times through the chapter myself as a result. There’s no mention of a key in the first part of the mansion puzzle still.
You know, alternatively you could just run around when Ruvik chases you, he just walks after you so that shouldn’t be a real problem. He does teleport near you every so often, if he does then just run past him.


First part of mansion sequence text is missing keystone statue. In the same room as the brain on top of the shelves.
After the barn scene and u are in a long hallway, turn back towards the screen and search until u find green gel , I think it was 500 points.
When you enter the mansion turn left and go through the kitchen in the room with the first brain puzzle. After entering the room turn left and look up. Ther is a big stone statue on the shelf.
Thanks for info, it’s included in text guide already. This video was something like test for first time, if you found that helpful (for main story) and you want to see more with improvement in terms of editing please let us know 🙂
Actually, it’s not in the text guide. I missed that key a couple times through the chapter myself as a result. There’s no mention of a key in the first part of the mansion puzzle still.
You know, alternatively you could just run around when Ruvik chases you, he just walks after you so that shouldn’t be a real problem. He does teleport near you every so often, if he does then just run past him.
That’s updated in video guide. Thanks for info although. I found that method easier aswel.