Home » The Order: 1886 » The Order 1886 Chapter 1 Collectible locations & Walkthrough
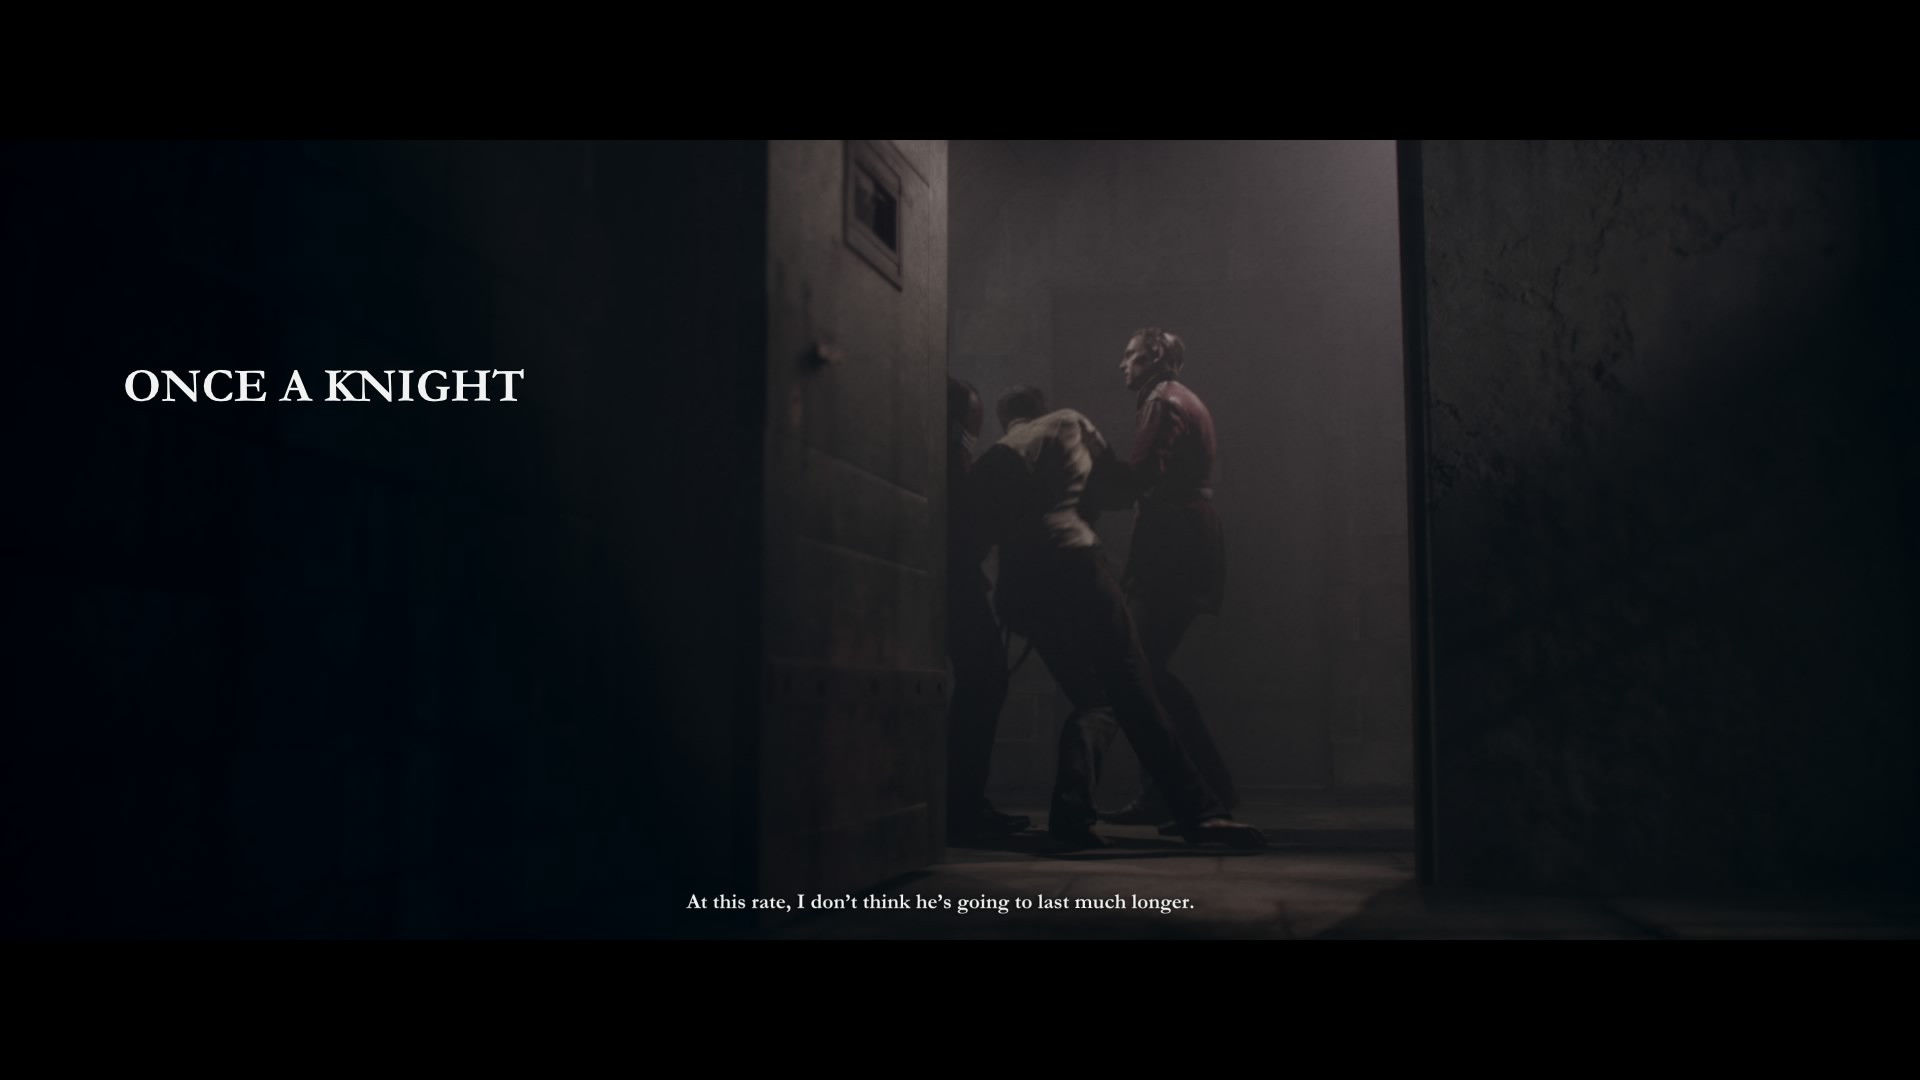
Order 1886 starts with a prologue called Once a Knight that continues into the first chapter – Always a Knight. Events of the prologue happen during the twentieth day of November, 1886.
▼Article Continues Below▼
They cover the escape of the main protagonist from prison. We are introduced to basic movement and inspect commands along with how the story of Sir Galahad starts. By following in-game instructions you eventually end up at the start of the first chapter and the true beginning of your Order 1886 adventure. In the guide bellow we’ll try and help you overcome any tough sections of the chapter (without story spoiler where possible) and find all the collectibles in the first chapter. These collectibles count toward 5 achievements:
Archivist – Collect all phonograph cylinders (Silver)
Detail Oriented – Inspect all photographs and documents (Silver)
Well-read – Inspect all newspapers (Silver)
Power of Observation – Inspect all objects (Silver)
Inspector First Class – Find all inspect items (Gold)
Gosu Tip: Progressing through story is done by completing tasks/directives during chapters. If you are not satisfied with how your playthrough went or you want to collect missed collectibles or something else you can: quit to title menu from the options menu, choose your previously completed chapter and the checkpoint (task/directive) from which you want to restart (great for finding missed collectibles or doing achievements – you can do this even after you are finished with the game).
Identify the United India House
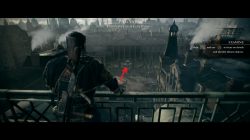
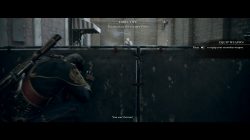
The following events take place on The Twelfth Day of October, 1886. Your first task requires you to use your focus and identify the yard in front of United India House. This building is in front of the balcony you’re on. Hold your focus on this yard until a notification pops up. You’ll also get a new weapon here: Essex M2 Falchion riffle. Secondary fire of this rifle can stun enemies, disabling them for a short period of time. Leave the balcony through a door found behind a corner.
Identify a distant object (in this case – a yard).
Use the door to leave the balcony.
Meet with Igraine
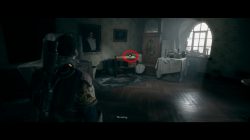
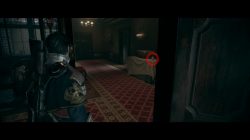
You are now inside a house. Before you use the stairs be sure to check out the small cabinet in the corner of the room you just entered. There is a newspaper “Mysterious Disappearances in Whitechapel” collectible there. As you go down the stairs, before you go through the next door, make sure to examine the “Wyndham Family” photograph collectible.
On the cabinet, in the corner of the room.
Near the bottom of the stairs.
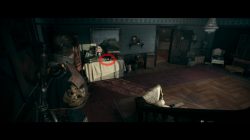
The next collectible is found just a few steps away. It is a Phonograph Wax Cylinder audio recording found on a table with white papers and two suitcases. You can listen to it from the Archive section found inside the Options menu. The name of this phonograph is “Le Morte d’Arthur”.
Close to the guy that repairs the elevator.
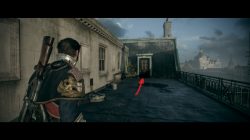
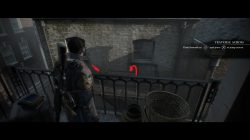
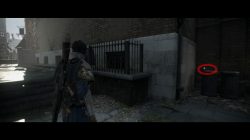
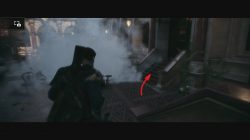
Time to leave the house. Path leads you to another balcony where you jump toward a metal platform that takes you to the street. Before you turn right, to continue the chapter’s main story, turn hard left. In the corner, on top of one of the metal trash cans is one more collectible: “Theatre Flyer” document.
Use the balcony to leave the house.
On the metal trash can. Easy to miss.
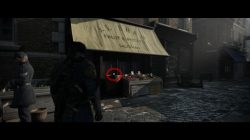
Following the main path you’ll end up in a street with J.J. Shaw Fruit & Potato Shop on your left. In front of this store, on a wooden barrel, is the final collectible in Chapter 1; object “Pocket Flask”. Just a few steps further away you come across Igraine.
In front of the store, on a wooden barrel.
Follow Igraine
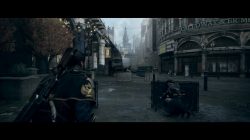
You end up in United India Square, Mayfair and as you go down the only possible road you’ll get to experience the first action of this chapter – time to shoot some enemies.
Incapacitate the escapee threat
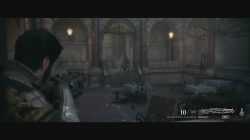
Before you fight your first enemy in the game you’ll get introduced to an important part of the combat system. Using objects for cover and choosing your weapons. This becomes extremely handy as soon as you end up in the square where you have to fight a large amount of enemies. Proceed with caution. Rebels you are fighting tend not to come from behind so you can advance without worry. This section ends when you kill all enemies and you are about to enter the Exchange building.
Use the objects to your advantage.
Shoot them in the head for instant kills.
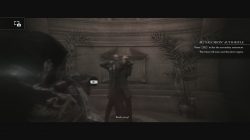
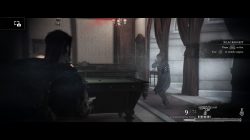
Pursue escapees into the Exchange building
This is where you’ll get to find out just how powerful is the secondary fire of Essex M2 Falchion rifle. Use it to stun the rebel without killing the civilian.
The secondary fire ability of Essex M2 Falchion is a powerful stun.
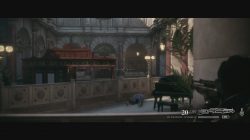
Clear the Grande Lounge
Large combat commences. Game introduces a new utility weapon in form of a smoke grenade. Use the smoke grenades as cover to make your way to the right side of the building. Use this side to your advantage and kill the rebels. After the first wave of rebels there are two more for you to handle. The second wave comes as Igraine says that they are in the bar. This wave comes from the farthest part of the compound. The last wave comes from behind (from where you entered the Lounge). Take caution because I died when they took me by surprise.
Smoke grenade is awesome for changing your position while under fire.
The second wave’s location.
The final wave comes from behind.
Clear the 2nd Floor East Wing
As you follow Igraine through the door you are introduced to melee combat. It is extremely useful for defeating enemies silently. You should use it as often as possible as it is part of the Achievement/Trophy: “Snuffed Out” – Kill 7 enemies with silent takedowns. This method won’t help against a new wave of enemies that comes toward you. Use cover to avoid getting shot.
Melee attacks for the win.
You get to discover another part of the combat system in the next room. It is called Blacksight. This “ability” slows down time and your character can shoot enemies with great speed. Blacksight happens at certain points of the game and, at least for now, you can’t control when it starts. As you kill rebels, with help of Blacksight, a cutscene begins that takes you to your next objective.
Blacksight power!
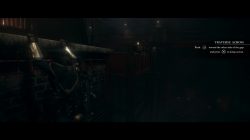
Pursue the remaining escapees
This objective takes place in The London Underground and you get to find out about another thing your character can do. You get to traverse the level Assassin Creed style.
Traverse Across.
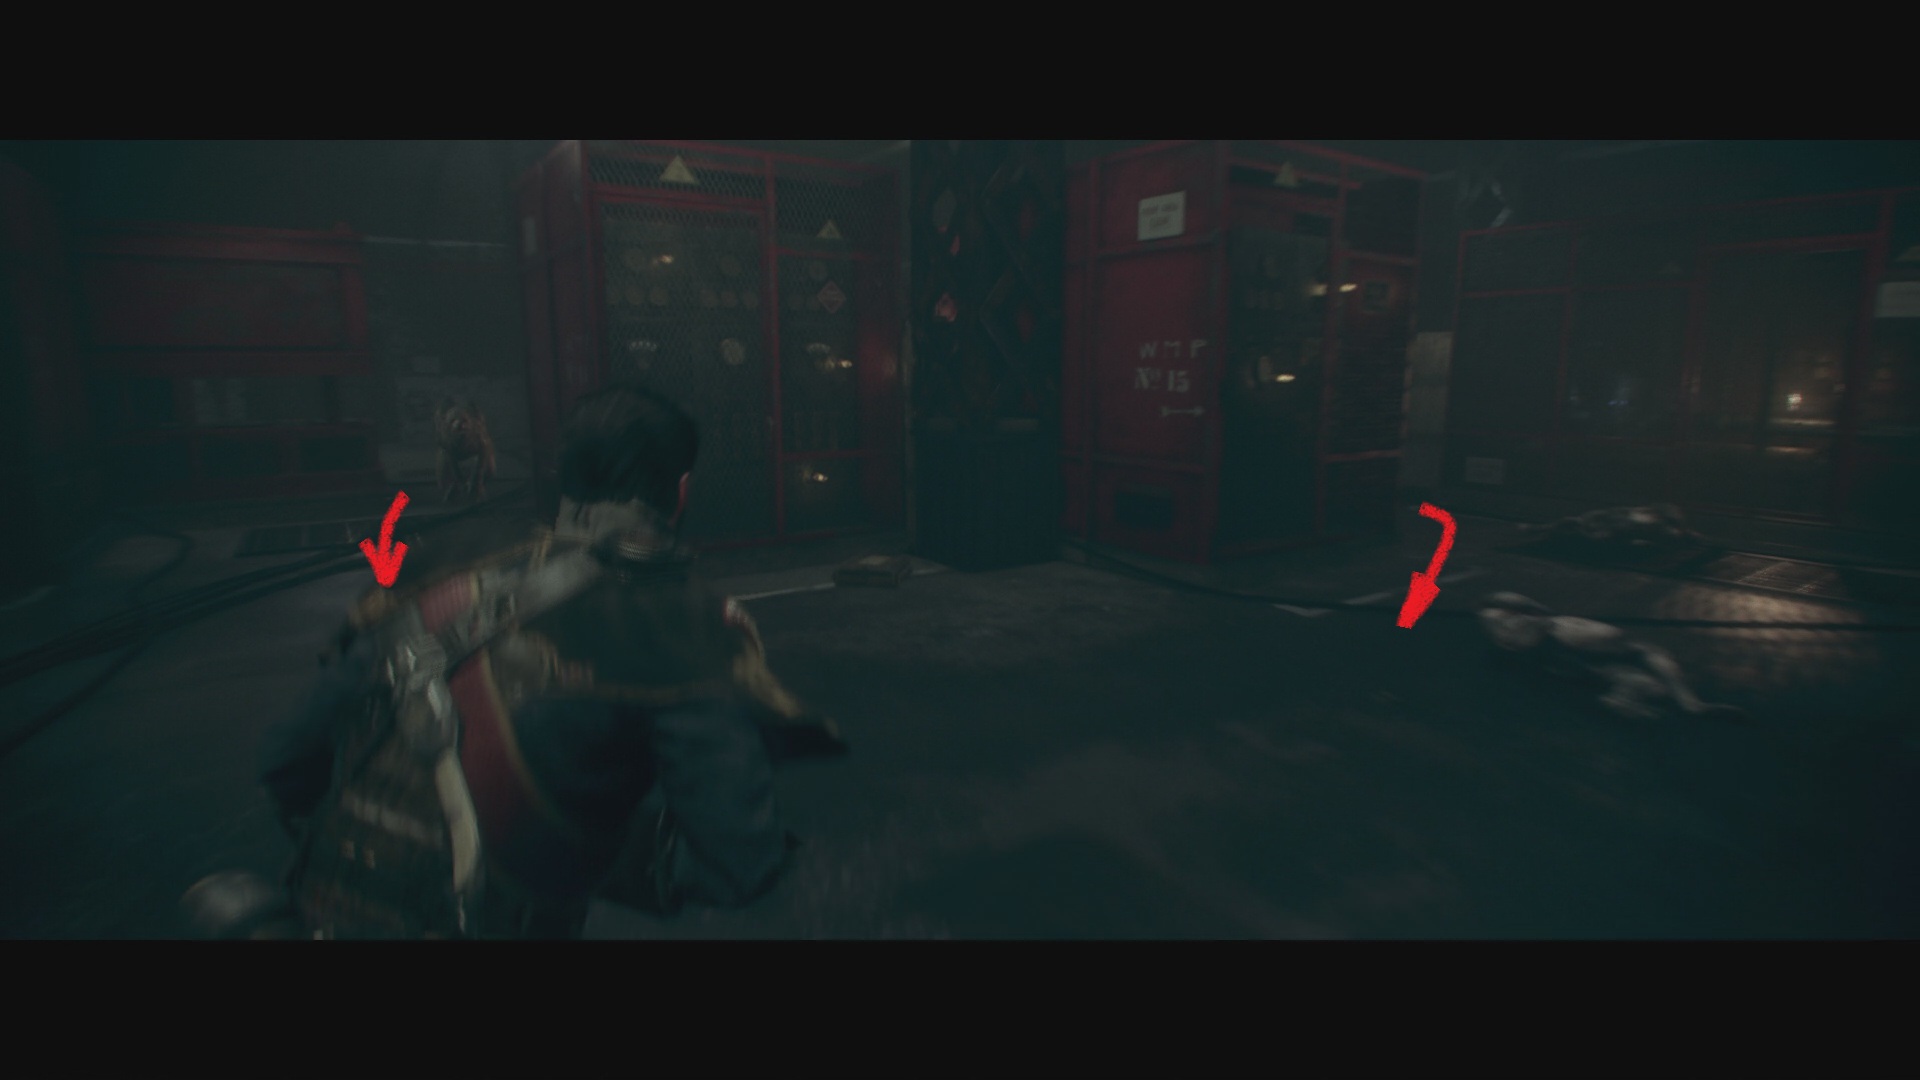
How to eliminate the Lycans in Chapter 1?
This is where fun truly starts. Lycans are fast and tough to defeat. There are several of them here. I found that the easiest way to defeat them is to remain at your starting position. Three Lycans come from two directions, right or left of you. As you stand there you have to watch out from which side the first Lycan will attack. Before they charge you they tend to wait for a second or two. Aim at them and shoot as they start running. If you are not certain that you did enough damage use the “X” button on your controller to dodge out of their way. Get back to the starting position quickly and wait for the next attacker. If you do enough damage you will shoot the Lycan down to the floor and you have to perform one final blow to kill it. Once you kill it go back to the starting position because you will have to kill another one using the same tactic.Don’t panic, be aware of their positions and when they start charging.
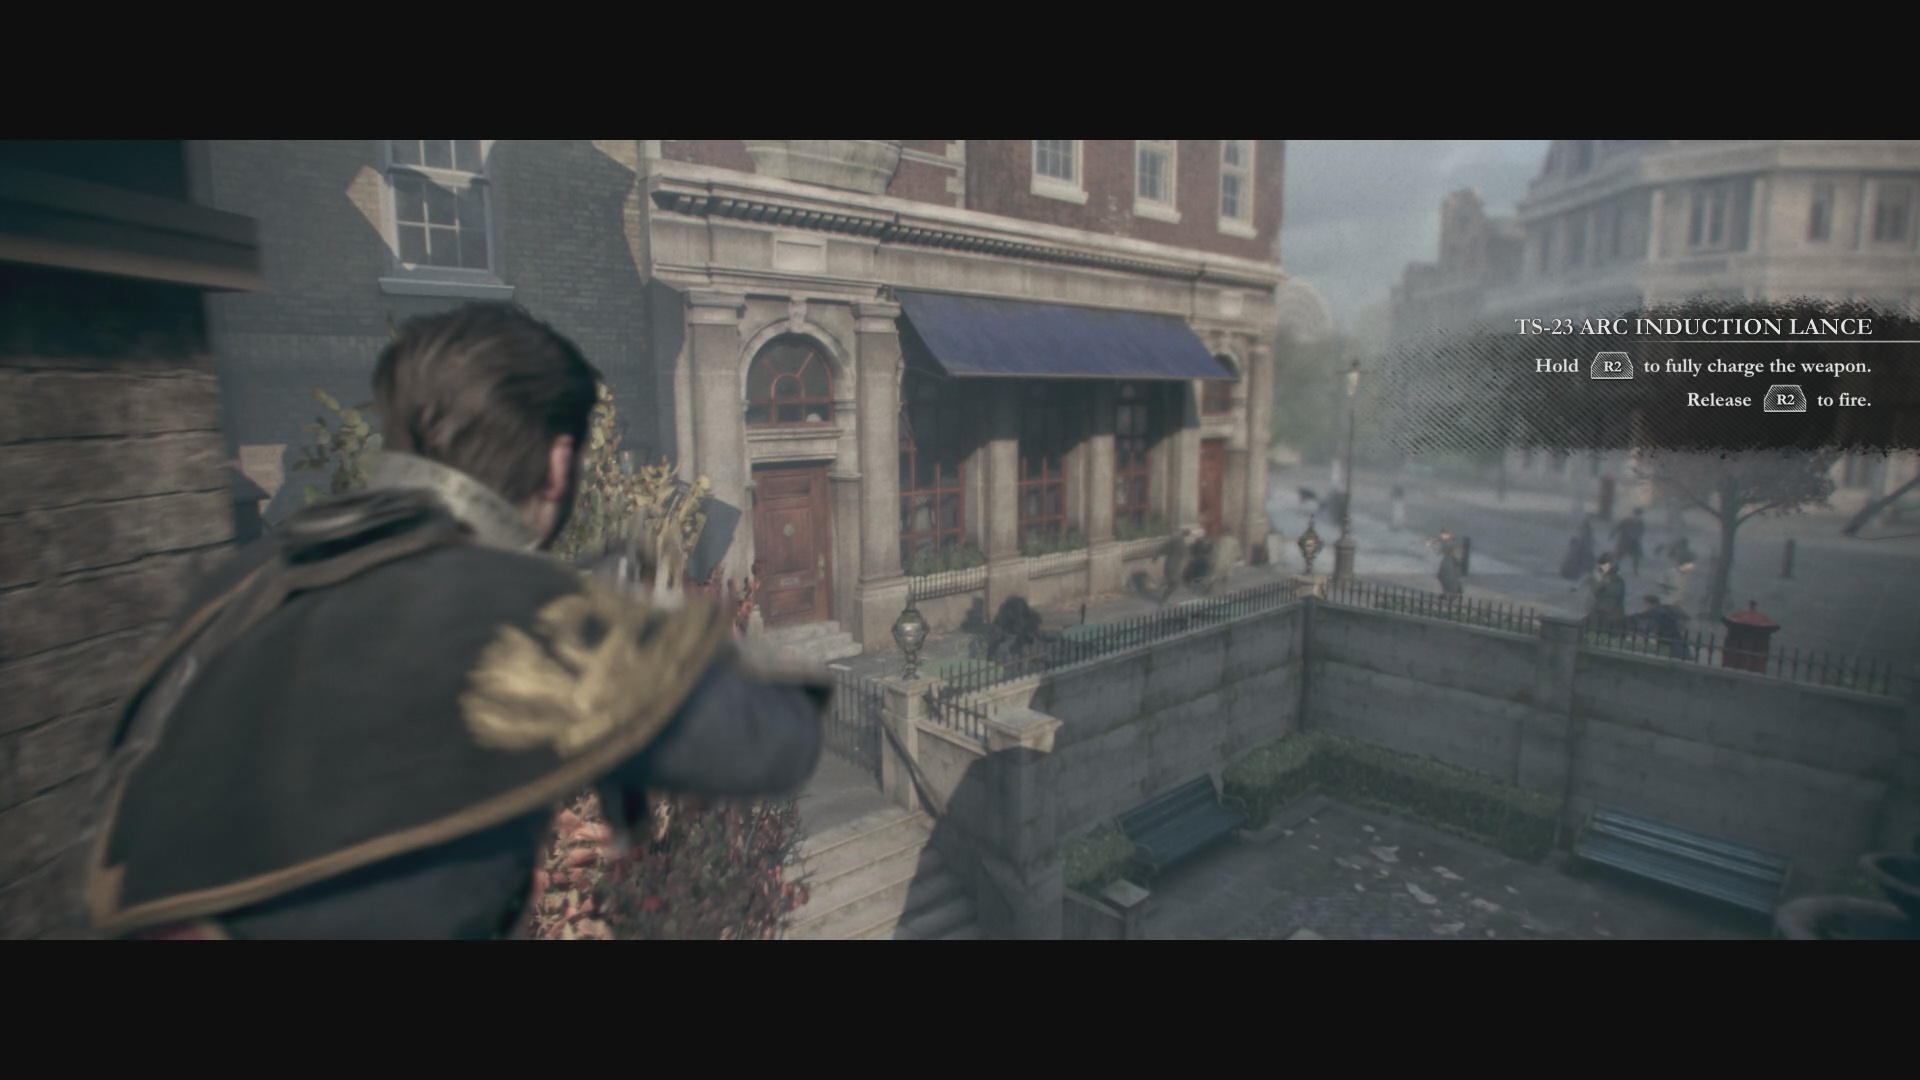
Pursue the Lycan
While pursuing the Lycan that escaped you get to use a new weapon: TS-23 Arc Induction Lance. This extremely powerful weapon requires you to charge it before unleashing its power. Don’t worry about being precise when initially shooting the Lycan. The actual shot, you have to be precise with, is the one when Lycan reaches the street. As he gets close to a crowd of people you have to make that one shot count or you’ll fail this section. This objective also fails if you are slow during your pursuit.Make the final chapter shot count!
 Gosu Tip: Progressing through story is done by completing tasks/directives during chapters. If you are not satisfied with how your playthrough went or you want to collect missed collectibles or something else you can: quit to title menu from the options menu, choose your previously completed chapter and the checkpoint (task/directive) from which you want to restart (great for finding missed collectibles or doing achievements – you can do this even after you are finished with the game).