Chapter 14 – Ulterior Motives – is slightly longer than the previous chapter. There is not a lot of background story being conveyed here.
▼Article Continues Below▼
It feels like a chapter that had to be inserted to make the game a little longer. The whole point of the chapter is to reach the subway train.
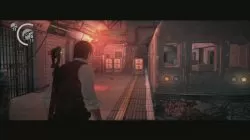
Subway Station
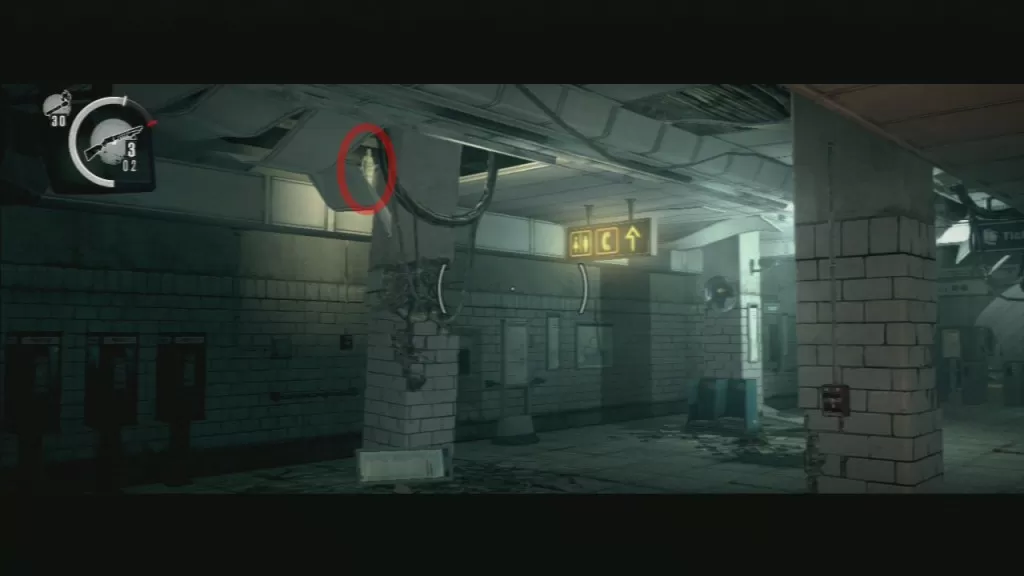
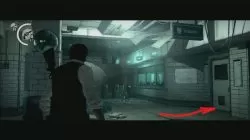
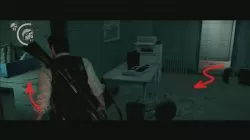
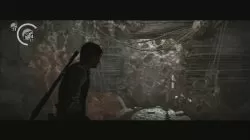
At the start of the chapter you find yourself inside the Subway station. Further inside you arrive to the Tickets area. Look around for a ruined stone pillar and ceiling. Inside this ceiling section there is a Key Stone Statue. Shoot it down to collect the key.Key Stone Statue Location.Across this spot enter the ticketing room. On a table next to the lockers is Map Fragment 26. Across from Ticket room is a “Lore” door, behind which you can collect lore like Personal Document: “Note from Myra”, Missing Person Poster: “Ivan” and Newspaper: “Fire at Office”.
Enter the Ticketing Room.
Map Fragment Location.
“Lore” Door.
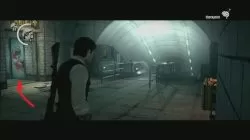
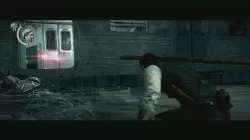
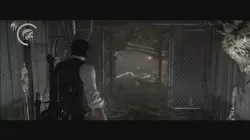
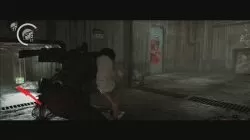
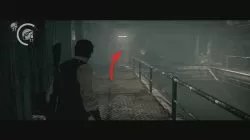
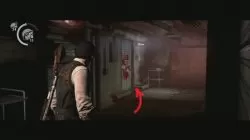
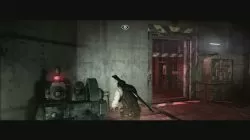
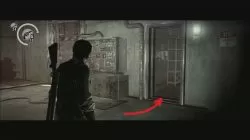
Continuing through the station you end up in a subway tunnel with loads of monsters. You’ll confront Ruvik’s Copy, monsters with rifles and m,any more. Clear them out before you go further. You’ll find a door nearby, before you enter the first train and it seems that this door can’t be reached if you sound the alarm.
Locked door.
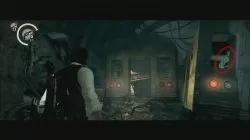
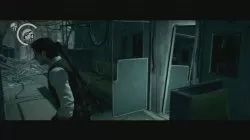
Subway Trains
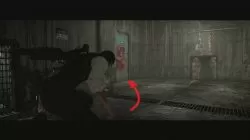
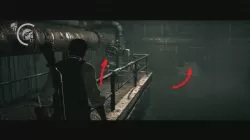
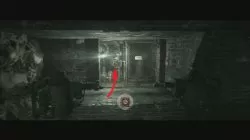
Subway trains have fewer enemies. The second train you enter has many close proximity bombs. Shoot them to make them explode. Just before you reach the next train you should try and spot a Key Stone Statue on the train’s window. You can take the key from outside the train or once you get inside. To open the door of the train with the Key Stone Statue you have to step on the edge of the train that leads to it.
Watch out for bombs.
Key Stone Statue Location.
Door gets open.
Underground facility area
This area starts once you use the matches to clear your way through. Watch out for a trap before the first room to your right. It can alarm all the monsters. This area feels like a part of a power supply unit, and this feeling is enforced by the presence of several electric bolts that block your way. They have to be turned off with nearby switches.
Clear it with fire!
Crouch under the first electric bolt and use the switch.
Another set of electric bolts.
Another “Lore” door is inside this area. You have to go through them to continue the chapter. They hide archive items like Personal Documents: “Journal Entry – December 2012” and a particularly interesting one. It is Missing Person Poster “Tatiana”. You’ll notice why it is interesting once you collect it. Now you can collect the last Newspaper piece. It is on the ground, behind the desk, near the blood spot. It is called “Hospital Case Sealed”. We would like to thank user cYcLoNe for additional information.
“Lore” Door.
Newspaper piece number 21
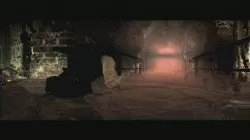
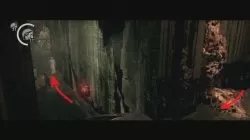
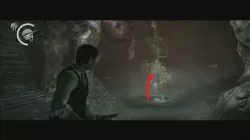
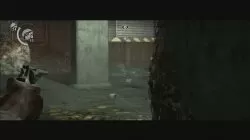
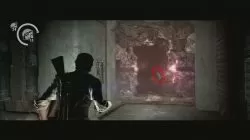
Once you leave the area behind the “Lore” door a new path reveals itself. Walk this path until you end up in water. Next longer tunnel ends with a bright red light. You remember the electric bolts from before? They make their appearance again here. As some of you can guess, electric power + water = no good. You get a presentation of what can happen once the monsters spawn and come in contact with an electric bolt. Shoot them down to prevent getting electrocuted.
Enter the new passageway.
Red Light tunnel.
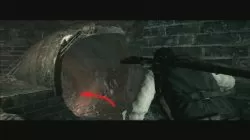
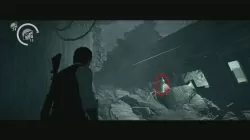
Inside the same tunnel with a bright red light, at one of its corners, there is a Key Stone Statue. It is on your right side from where you entered the tunnel. You have to burn down the entrance to get it.
Turn right.
Hidden Key Stone Statue Location.
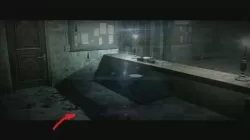
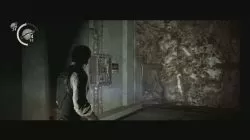
In the next room there is a working generator. Next to it, on the wall, is the chapter’s Key History Item: “Junction Box Fuse”. Once you get it go to a nearby water valve and use it. This lowers the level of water inside the room, revealing a new path.
Acquire the History Key Item.
Use the water pipe valve to reveal a new path.
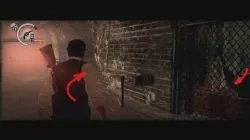
This is where it gets a bit messy. As you climb the stairs you find yourself in an old brick tunnel. To leave this tunnel you have to reach the other side of it. Place the Fuse in a box there. This turns off the electric bolt at the middle of the tunnel freeing another water valve. Sounds easy, right? It would be if you didn’t have to deal with two headed monsters spawning at each point. They spawn once you enter the tunnel, once you use the fuse and you use the water valve. Because of this it is simpler to just complete all three actions while avoiding the monster and once they are grouped you can use explosives to get rid off all of them.
Enter the large pipe.
Use the fuse box…
…and the water pipe valve.
Two-Headed monster.
Slithering Monster
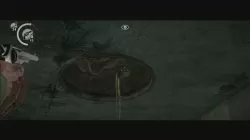
The next area is where we meet the slithering monster. If you don’t want to get eaten by it, pay attention to the holes in ceiling. Monster hides inside one of them. You can spot its head if you pay attention. Shoot it to scare it.
Slithering monster is kinda creepy.
Further down the road you come in contact with a bloody door to your left. They hide “Map Fragment 27”.
“Lore” Door.
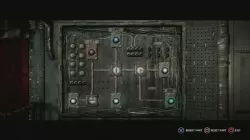
This is the area where you fight the Slithering Monster. Before you summon it use the fuse box on one of the boxes. Use a large power switch box near the elevator next. Place the three fuses in correct order for maximum reward. Once you do it properly you receive achievement/trophy “Entry Level Electrician“. Go to a nearby power generator and try to start it. This summons the monster.
Use the History Key Item.
Power Switch Box, Correct Order.
Try to start the power generator.
Here’s a video of how we managed to take down the Slithering Monster:
Slithering Monster performs a couple attacks:
While on ground it can shoot a poisonous gas that doesn’t disappear instantly. Be on a lookout for this because you can get stuck in a room corner with only one way out.
Slithering monster is fast but there are stone pillars in the room you can use to hide from it.
If you are not behind cover the monster can shoot toxic fluid at you.
When you damage it enough, it vanishes leaving a gas cloud behind. Its next location is inside one of the ceiling holes usually close to the location where it disappeared.
Once inside the ceiling it drops several small larvae. Larvae are fast and go straight for you. Almost each larva drops handgun or magnum ammo when killed.
Slithering monster continues to drop many larvae until you shoot at it. When you damage it enough it drops down from its hiding place.
Usually, its next move is to turn almost invisible on the floor beneath the ceiling hole it just dropped from, while continue to spawns larvae.
One shot breaks its “stealth”.
Repeat steps above until the slithering monster is dead.
Poisonous Gas Cloud.
Larva.
Larva’s Loot Heaven.
Shoot the creeper.
Slithering Monster “stealth” form.
When you kill it you receive achievement/trophy “Slither into Oblivion“. Gosu Note: The most expensive, Harpoon Bolt level 5 (which is a 50 000k Green Gel point upgrade), works like a charm here. It makes killing the slithering monster so much easier.
Do not go inside the elevator yet. Turn on the power generator and go right of the elevator. There are two new entrances. The first one is next to the large power switch box. This is a supply area. Once you leave the supply area head left (right from the elevator) toward the AUX area. AUX area hides the Key Stone Statue.
Supply Area.
AUX – Key Stone Statue Area.
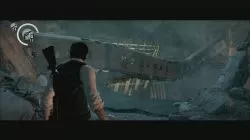
Elevator takes you to your goal and chapter’s end – subway train bridge.
Subway Train Bridge
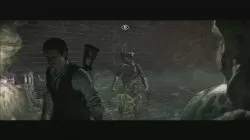
As you leave the elevator and the ruined tunnels you can spot the Subway Train Bridge in the distance. Before you jump down to the train collect the Key from a Key Stone Statue. At the end of the train you’ll find yourself in a new area. There is a cutscene here and a short combat sequence. Considering that this is a major spoiler cutscene and an easy fight we don’t want to ruin it for you. Enjoy!
I can’t get in the locked door either. Am I doing something wrong ? I never set off the alarms and I stealth killed everybody. I even tried running straight to the door before killing anyone…..


I can’t get in the locked door either. Am I doing something wrong ? I never set off the alarms and I stealth killed everybody. I even tried running straight to the door before killing anyone…..
how do.u get thru the locked door
the first key statue in the subway is not there its not even there in any of the key videos being made so i dunno how u have a picture of it
never mind i just had the wrong angle of looking it looked like it was on the left on the flap its actually on the right in the back in the shadows
It most certainly is
When you enter lore door the second time search the ground behind tatianas desk . Newspaper 21 lies there on the ground.