Destiny 2 How to Beat Escalation Protocol - Tips & Tricks
Escalation Protocol is the new public event in Destiny 2. It was added in the Warmind DLC, and it’s a sort of horde mode. You’ll have to defeat several waves of enemies and a handful of bosses, and you’ll be rewarded with three chests. There’s a high power level requirement, and a lot of people are wondering how to beat Escalation Protocol in Destiny 2. In this guide, we’re going to show you some tips and tricks to help you overcome the challenge.
Escalation Protocol preparation – team setup & gear
Before you jump in, make sure you’re around power level 360. You should have a team of at least six people, but nine would be desirable – that’s the entirety of an instance. Find a group of interested friends or people from LFG sites, then spawn on Mars and look for random players interested in doing the Escalation Protocol. Each player can invite two more into a fireteam, so you should find one random player for a team of six, or two for a team of nine.
When it comes to gear, focus on DPS. Make sure to have at least on Sleeper Simulant and Tractor Cannon. Apart from that, go for auto rifles, snipers and rocket launchers – anything that does a lot of damage at a distance.
As far as team composition is concerned, you’ll need Nightstalker hunters, Sunbreaker titans and Voidwalker warlocks. The hunters are going to use tethers to beef up your Orb of Light production, while the titans and warlocks will be in charge on dealing damage. Make sure the titans have Melting Point, too.
You’ll get loot chests after waves 3, 5 and 7. You’ll need encrypted cache keys to open them. You may get some during EP, but bringing them with you would be wise. You can craft them from cache key fragments with Anna Bray’s help.
How to complete Escalation Protocol
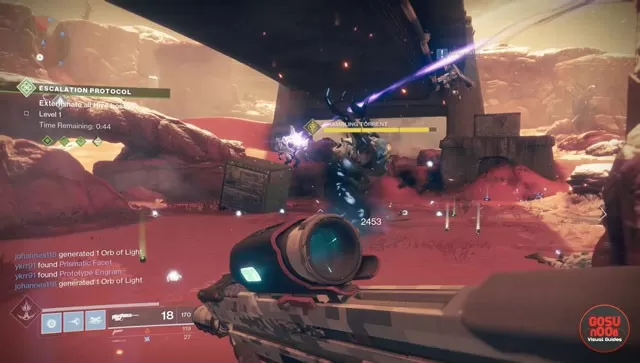
As soon as you start the event, start quickly killing enemies. Don’t skimp on supers, as the hunters will allow you to replenish them in no time. When shadow rifts start appearing, stand in the green circle and wait for it to fill up. When it’s full, the shields on the black crystals will go down, and you’ll be able to shoot them. You won’t have to stay in the circle once the shields are down. When there’s more than one rift, split up so you save time.
There are two ways you could deal with the bosses. The first, conventional one, is to use the Valkyrie. You’ll need Rasputin Armory Codes for this. The other is more efficient, but it requires a specific setup. You start off by shoulder charging the boss with a titan, then start spamming it with supers and the Tractor Cannon. The combination of buffs, debuffs and pure damage will down them in no time.
When you get to the point where you have to complete a public event during Escalation Protocol, make sure to start the heroic variant as soon as possible. Focus on the additional EP boss first, then deal with the heroic event enemies. The latter are less of a threat.
If you need further help with Destiny 2 Shadowkeep, check out our guides on Dead Ghost Locations, Jade Rabbit Locations, and Eyes on the Moon - How to Start Vex Invasion. If it's Exotic Weapons that you're after, we've got you covered with our Pain And Gain Exotic Quest and Deathbringer Exotic Rocket Launcher - Symphony of Death guides. Going back in time for new players, we can offer you guides like Ikelos Weapons - How to Get SMG, Sniper Rifle, Shotgun, or, if you're playing Forsaken content, guides like Corsair Down & Badge - Dead Body Locations.


Thanks for the info. I’m still wondering where to go after each event is completed. I have no idea where the next thing (can’t reme the name) is.
If you look around in the sky there will be a beam of light that comes out of the next pillar (so know where all the pillars are to know where to look)