Prophecy Destiny 2 New Dungeon - Season of Arrivals
Prophecy dungeon is a new activity in Destiny 2, a part of the Season of Arrivals. It’s like a miniature raid, designed so that it takes less people, less time and less coordination to complete. It’s filled with enemies, puzzles, secrets and bosses, and if you complete it, you’ll be rewarded with pieces of the Daito Foundry armor set. If you’re having trouble with any of the challenges inside, this guide will help you complete Destiny 2 Prophecy dungeon.
Light & dark pillars with motes
The first section of the dungeon involves two pillars – one white and white black. When you get there, you’ll start to fight a bunch of Taken, and from time to time, a knight will spawn. Killing said knight drops three motes, which can be either light or dark. If you’re standing in the shadows when you score the kill, it’ll be dark – you can tell by the black outline around the screen. If you’re standing in the light, and have a white outline, the motes will also be light.
When you collect five motes, you’ll change into third person view (like when holding an arc charge), and you’ll have to bring them to the appropriate pillar and dunk to deactivate it. If you do it on the wrong pillar, you’ll die immediately, losing all the motes in the process.
You can only carry one kind of mote – if you’re carrying light and then collect a dark one, all of the ones you’ve already collected will also turn dark. Keep this in mind and coordinate with teammates to avoid playing the section longer than you have to.
Defeat the Phalanx Echo
The next encounter is a boss fight, but with the same mechanic as the previous area. There will be four pillars in the arena, and the boss will be immune to damage when you start. Defeat knights to get motes, disable all four pillars and you’ll enter the damage phase. Whenever you disable a pillar, the rings around the arena will move, making a different configuration of light and shadow. Remember to keep moving and make use of the cover placed around the arena.
Wasteland – desert with glowing rings
The next encounter takes place in a relatively large area, a desert with floating, glowing rings. Keep visiting these rings until you find one surrounded with blights. Destroy them, and a wisp will point you towards the next one. Once you’ve cleared them all, a message will appear, saying the way is open. Look for a pink pillar of light on the horizon and head towards it.
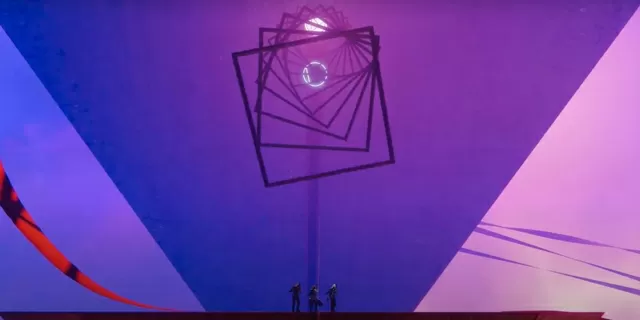
Hexahedron – rotating cube puzzle
The next area is a big cube called the Hexahedron. The same pillar & mote stuff goes on here as well, but the difference is that you have to target the pillars in a specific order. That order is determined by the wisp floating around the chamber. So before you begin collecting motes, find the wisp, look at the pillar below it, and collect the motes you need for that one. After you disable it, the wisp will move, pointing you towards another pillar. Each time you disable one, a new symbol will appear on the floating cube in the center – once all the symbols are there, you’ll have to fight two centurions.
Wasteland – heaven/hell
After the fight, you’ll end up back at the Wasteland. This time, a big enemy will appear in front of you. Shoot it, and it’ll teleport away. Go to its new location and shoot it again. You can ignore everyone else, just keep shooting the big guy and you’ll end up at the entrance to the next area.
Singularity – downhill race
The next area leaves you with two choices – either ride your sparrow downhill, following the golden ribbons, or use the floating platforms for a much safer, albeit slower, descent. That’s all there is to it. Once you’re done, it’s time for the final boss.
Defeat the Kell Echo final boss
This one’s a spin on the Hexahedron formula. A copy of the boss will appear in each of the corners, immune to damage. Kill knights to get motes, then disable a pillar next to the boss. That boss will disappear, and you’ll have to fight an ogre. Continue until you’ve made all three disappear, and then you’ll be able to use the central teleport to get to the other arena, where the damage phase takes place. Keep close to the boss to keep your Dark Entropy debuff levels low – if they get too high, you’ll die. Avoid the wave attack at all costs – it’ll teleport you back, making dealing with Dark Entropy much harder.
Is Prophecy Dungeon Free For All With Shadowkeep?
Yes, The Prophecy Dungeon is free for all Destiny 2 players. The developers have said as much during the reveal live stream. So, don’t worry about buying the season pass; the doors into Prophecy Dungeon will be open to all once it becomes available.
If you need further help with Destiny 2 Shadowkeep, check out our guides on Dead Ghost Locations, Jade Rabbit Locations, and Eyes on the Moon - How to Start Vex Invasion. If it's Exotic Weapons that you're after, we've got you covered with our Pain And Gain Exotic Quest and Deathbringer Exotic Rocket Launcher - Symphony of Death guides. Going back in time for new players, we can offer you guides like Ikelos Weapons - How to Get SMG, Sniper Rifle, Shotgun, or, if you're playing Forsaken content, guides like Corsair Down & Badge - Dead Body Locations.